When I first started my pottery journey, I stumbled upon a common frustration: centering clay on the wheel. It seemed like everyone around me was effortlessly spinning their creations, while I was battling a wobbly lump of clay. But I soon learned that centering is at the heart of effective pottery-making. If you’ve found your way to this blog post, chances are you’re eager to master this foundational skill—and I’m here to help!
Table of Contents
- 1 Key Takeaways
- 2 Understanding Centering in Pottery
- 3 Step-by-Step Guide to Centering Clay
- 4 Visual Aids for Successful Centering
- 5 Enhancing Centering Skills: Tips from Experienced Potters
- 6 Conclusion
- 7 Frequently Asked Questions
- 7.1 What types of clay are best for beginners in pottery?
- 7.2 How can I improve my hand positioning while centering clay?
- 7.3 What should I do if my clay keeps moving off-center while I’m throwing?
- 7.4 How important is moisture control in the centering process?
- 7.5 Can I use a regular pottery wheel for centering techniques, or do I need a specific type?
- 7.6 What are some signs that my clay is properly centered?
- 7.7 Is it normal to struggle with centering at first?
- 7.8 What common mistakes do beginners make when centering clay and how can I avoid them?
- 7.9 How can I tell if I need to re-wedge my clay before centering?
Key Takeaways
- Centering is essential for producing balanced, well-shaped pottery pieces.
- Proper workspace preparation can make a world of difference in your centering efforts.
- Visual aids like diagrams and videos can provide invaluable guidance as you practice.
- Embrace mistakes as part of the learning process, and use them to improve your techniques.
- Advanced skills can take your pottery to the next level, so don’t shy away from experimenting!
Understanding Centering in Pottery
When I first began dabbling in pottery, one of the first terms that came up was “centering.” But here’s the kicker—it wasn’t always explained in a way that made sense. So, let’s break it down!
What is Centering in Pottery?
Centering refers to the technique of positioning the clay precisely in the middle of the pottery wheel. Why is this crucial? Well, it’s all about balance. If your clay isn’t centered, you’re opening yourself up to a world of unevenness and frustration—kind of like trying to balance a ferris wheel on a tightrope!
Centering is one of the fundamental pottery techniques that every potter should master, whether you’re crafting bowls, vases, or intricate sculptures. By refining your centering skills, you regain control over the clay and can create pieces that truly shine.
Why is Centering Important?
So why should you care about centering? Simply put, it’s the backbone of pottery craftsmanship. When your clay is centered, you’ll achieve uniform shapes, which in turn improves your overall quality of pottery. Think about it like this: a well-centered piece means fewer cracks, better strength, and just an overall more professional appearance.
If you’re looking to impress your friends or maybe even sell your creations one day, mastering centering will give you that finishing touch that sets your work apart.
Step-by-Step Guide to Centering Clay
Now that we’re clear on why centering is super important, let’s jump into a straightforward, step-by-step approach to make it happen!
Preparing Your Workspace
Before spinning that wheel, get your pottery studio setup just right! A clutter-free workspace can make all the difference. I like to think of it as my pottery sanctuary. Here are some essentials to keep in mind:
- Essential Tools: Make sure you have a good pottery wheel—like the Speedball Clay Boss, which retails for about $600 and has adjustable speed settings. You’ll also need a sponge, trimming tools, and of course, your clay.
- Optimal Environment: A sturdy table with enough space around your wheel is crucial. I can’t stress this enough—nothing’s worse than bumping into stuff mid-throw!
- Materials Needed: Besides your clay and tools, a towel and a water bucket will keep everything neat and ready for action.
Centering with the Wheel: A Step-by-Step Process
Alright, let’s get groovin’! Here’s how to center that clay like a pro:
- Throw a Ball of Clay: Take a piece of clay (about a pound, give or take), and make it into a nice, smooth ball. The smoother the surface, the more control you’ll have.
- Positioning on the Wheel: Place the ball of clay in the center of the wheelhead. A quick tip? Gently press down on the clay to help it stick.
- Wet Your Hands: Dip your hands in a bit of water to keep everything lubricated. Trust me, it makes a world of difference!
- Apply Pressure: As the wheel turns, use your palms to press down and inward simultaneously. This is where the magic happens! You’re coaxing that clay towards the center. Keep your hands steady!
- Achieve a Conical Shape: You’ll want to create a conical mound at this point. The clay will start to rise as you apply pressure. Just remember to keep it damp during this phase!
- Check Your Work: When you feel confident that the clay is centered, slow the wheel down and do a quick visual check. Rotate the wheel slowly and look for any wobbling. If everything looks good, you’re in business!
“Centering clay is like finding your flow. Once you get it, the possibilities are endless!”
Troubleshooting Common Centering Mistakes
Now, let’s be real. We’ve all had those “oops” moments in the pottery studio. Don’t sweat it! Here are some common centering mistakes and how to fix them:
| Mistake | How to Fix It |
|---|---|
| Clay isn’t sticking to the wheel | Use a bit more water at the base to create suction |
| Wobbling while spinning | Reset the clay and start over; don’t be afraid to reset! |
| Clay gets uneven | Apply even pressure—think of it as giving gentle hugs to the clay! |
When you’re starting out, it’s easy to lose confidence. But remember, every potter faces these hurdles. It’s not about getting it perfect every time; it’s about learning and growing!
Visual Aids for Successful Centering
Sometimes, reading about centering just doesn’t cut it. You need to see it in action! That’s where visual aids come in handy.
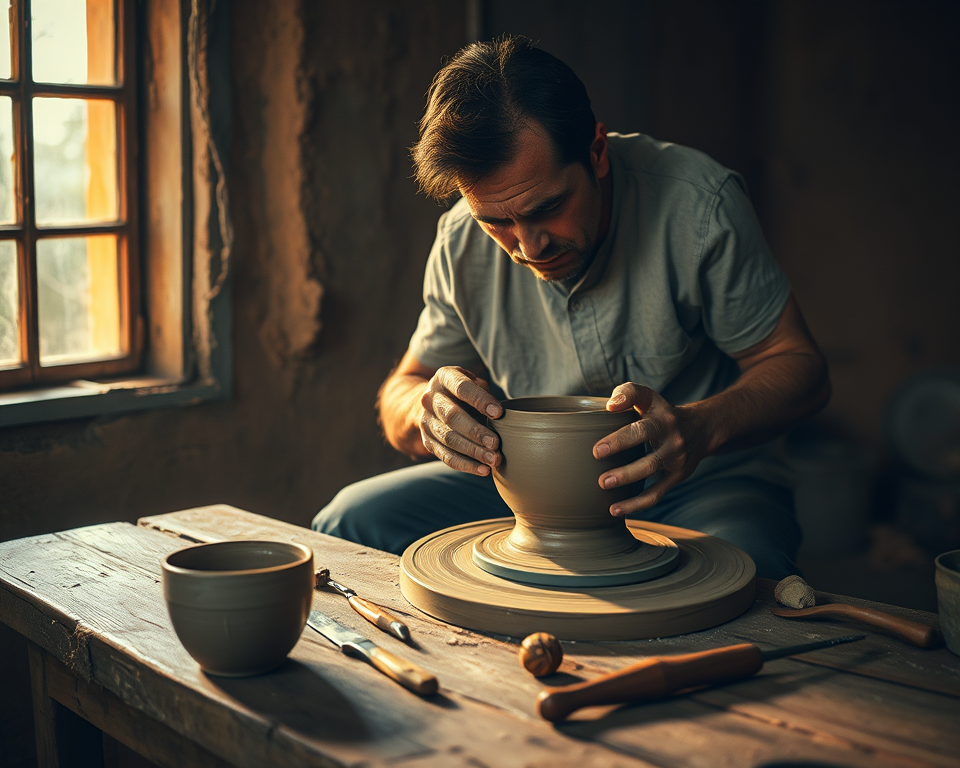
Diagrams and Images of Centering Process
I’ve found that diagrams can be incredibly helpful in understanding the nuances of centering. They can illustrate the exact hand positions, angles, and movements needed. Imagine a diagram showing the ideal placement of your hands—how you apply pressure, the angle of your wrists, and how the clay should move. You can create a visual reference to keep handy as you practice.
Video Tutorials on Centering Clay
YouTube is a treasure trove of awesome pottery videos. Channels like “The Clay Chef” or “Pottery Sub” offer fantastic tutorials that depict the centering process in real-time. Watching an expert in action can help demystify the process, giving you a clearer picture of how to adjust your technique.
“Sometimes, all it takes is that one video that clicks, and suddenly everything falls into place.”
Enhancing Centering Skills: Tips from Experienced Potters
Now, let’s ramp it up a bit! Once you’ve got the basics down, it’s time to step it up a notch and refine your centering skills.
Personal Anecdotes from Experienced Potters
One of my favorite things about the pottery community is how willing everyone is to share their experiences. I remember chatting with a seasoned potter who told me about her struggles with centering. She shared that she’d often take a break when she felt frustrated—allowing time to breathe and clear her mind before tackling the wheel again. It’s amazing how stepping away can lead to breakthroughs!
Advanced Techniques for Improving Centering Skills
If you’re already feeling comfortable with the basics, why not experiment with some advanced techniques? Here are a few next-level tips that helped elevate my work:
- Utilizing Torquing: As you stabilize your hands, gradually pull your elbows into your body. This technique adds additional stability while you center the clay.
- Practice with Variations: Try different weights and types of clay! Changing things up can really help you adapt to various materials and their unique behaviors.
- Find Your Rhythm: Every potter has a unique rhythm that works for them. Play some music while you center, and listen for that beat to guide your movements.
These advanced techniques not only boost your centering prowess but also keep your practice fresh and exciting!
Conclusion
By focusing on proper techniques, workspace preparation, and learning through visual aids, you’ll set yourself up for success as you center clay. Remember, every great potter started somewhere. Embrace the challenges, trust the process, and keep the momentum rolling. Happy throwing!
Frequently Asked Questions
What types of clay are best for beginners in pottery?
When starting out, it’s ideal to use earthenware clay or stoneware clay. Earthenware is forgiving and easier to work with, while stoneware offers versatility and strength once fired. Both types allow beginners to practice centering and shaping techniques effectively.
How can I improve my hand positioning while centering clay?
To enhance hand positioning, keep your hands relaxed and apply equal pressure on both sides of the clay. Use your elbows to stabilize your arms and maintain a firm grip without being tense. Consider practicing with smaller pieces to refine your technique before working with larger amounts of clay.
What should I do if my clay keeps moving off-center while I’m throwing?
If your clay shifts off-center, first check your wheel speed; a faster rotation can help stabilize the clay. You may also need to apply more pressure when centering to hold it in place. Regular practice in adjusting your technique will build muscle memory for better results.
How important is moisture control in the centering process?
Moisture control is vital because overly wet clay can become slippery and difficult to handle, while dried-out clay may crack or crumble. To maintain optimal moisture levels, always knead your clay to distribute water evenly and cover it when not in use to prevent drying.
Can I use a regular pottery wheel for centering techniques, or do I need a specific type?
A regular potter’s wheel is perfectly suitable for centering techniques. Whether it’s a kick wheel or an electric wheel, both can effectively be used with the right method and practice. Focus on technique and practice to improve your centering skills, regardless of wheel type.
What are some signs that my clay is properly centered?
Properly centered clay will rotate evenly without wobbling or shifting from its axis. You should see a smooth movement while the wheel spins, and there should be a consistent uniformity in the shape as you begin to form it. If it appears off-balance, readjust and re-center.
Is it normal to struggle with centering at first?
Yes, struggling with centering is a common experience for beginners. Pottery requires practice and patience, and it may take time to develop the necessary skills. Don’t get discouraged; continuous practice will lead to gradual improvement and increased confidence.
What common mistakes do beginners make when centering clay and how can I avoid them?
Beginners often apply uneven pressure or don’t fully wedge their clay, leading to inconsistencies. To avoid these mistakes, focus on applying pressure evenly and ensuring your clay is well-prepared with no air bubbles. Regular practice and observation will help you identify and rectify these issues.
How can I tell if I need to re-wedge my clay before centering?
If your clay feels dry, crumbly, or has air pockets, it likely needs to be re-wedged. Properly wedging your clay ensures even moisture content and reduces the risk of cracking while centering. Always check the consistency of your clay before starting the centering process.