
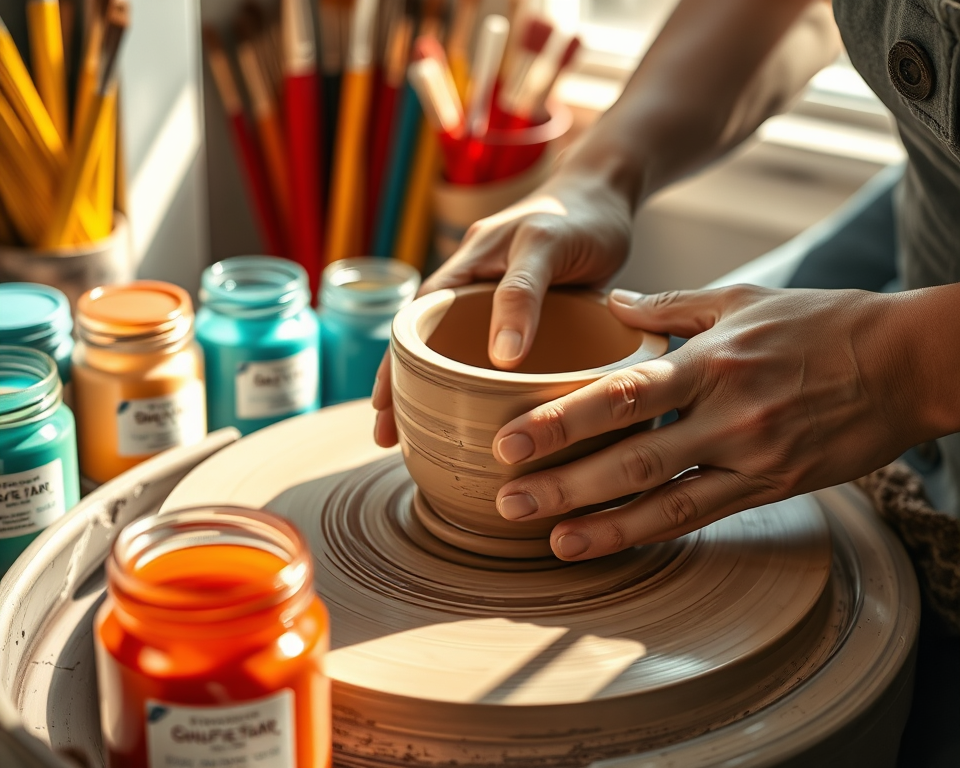
When I first stepped into the vibrant world of pottery, it felt like stepping into an entirely new universe filled with colors, textures, and creative possibilities. One of the most fascinating elements that quickly caught my attention was underglaze. If you’re curious about why this technique is becoming a favorite among potters—both seasoned pros and wide-eyed beginners like us—I’m here to share my excitement and insights on the benefits of using underglaze in pottery. Get ready to elevate your skills and bring unique artistic flair to your creations.
Table of Contents
- 1 Key Takeaways
- 2 Benefits of Using Underglaze in Pottery
- 3 Techniques for Applying Underglaze
- 4 Comparing Underglaze and Glaze
- 5 Safety and Food Considerations
- 6 Artistic Case Studies and Project Inspiration
- 7 Frequently Asked Questions
- 7.1 What types of surfaces are best for applying underglaze?
- 7.2 Can underglaze be used on all types of clay?
- 7.3 How do temperature changes affect underglaze during firing?
- 7.4 Can I layer different colors of underglaze?
- 7.5 What are some common mistakes beginners make with underglaze?
- 7.6 Is it possible to mix underglaze colors?
- 7.7 How does underglaze compare to other decorative techniques like slip decoration?
- 7.8 What safety precautions should I take when working with underglazes?
- 7.9 Can underglazes be used on both functional and decorative pottery?
- 7.10 Are there special tools needed for applying underglaze effectively?
Key Takeaways
- Underglaze offers vibrant colors and versatility, perfect for various ceramic projects.
- It allows for intricate designs and layering techniques, giving your pottery depth.
- Safe for food use when made correctly, underglaze can make your tableware stunning.
- Beginners can easily tackle underglaze application with basic tools and some practice.
- Case studies showcase stunning works by artists, inspiring your next project.
Benefits of Using Underglaze in Pottery
You might be wondering, “What’s the big deal about underglaze?” I’m glad you asked! Underglaze is like a paint for ceramics, one that provides endless artistic opportunities while also being functional. Let me break down some of the standout advantages of using underglaze that I’ve discovered along the way:
What Is Underglaze and Why Use It?
Underglaze is essentially a colored slip applied to clay before it’s glazed. It’s a fantastic way to decorate pieces before the final firing, allowing for vibrant colors and patterns to shine through. The beauty of underglaze lies in its versatility—it can be used for pottery, sculpture, or any ceramic work you dream up.
One of the main reasons I gravitated toward underglaze was its ability to create stunning detail. You can paint with it, brush it on, or even apply it using stamps or silk screens. Think of it as your artistic playground. You can draw patterns, create layers, or even write words—whatever tickles your creative fancy!
Artistic Benefits of Underglaze
Let’s talk about how underglaze can really up your artistry game. The state-of-the-art colors available, like Amaco’s Velvet Underglaze Set ($43), allow for unprecedented artistic flexibility. Whether you’re looking for a soft pastel or a vibrant jewel tone, there’s an underglaze that’s just waiting for you. With underglaze, you have the freedom to unleash your creativity. Feel like painting a picturesque landscape on your mug? Go for it! The techniques and possibilities are nearly endless.
“Underglaze encourages experimentation; it’s where your creativity can truly flourish.”
Techniques for Applying Underglaze
Like any artistic endeavor, using underglaze has its techniques and tips to learn. Don’t worry; I’ve got you covered. Let’s get you started on this exciting journey with some step-by-step application methods that work, especially for beginners.
Step-by-Step Application Methods
To get the hang of applying underglaze, you’ll want to start simple. First things first, gather your tools. You’ll need:
– A set of brushes (like the Princeton Velvetouch Brushes, starting at $12)
– Sponges
– A water cup for rinsing
– Your chosen underglaze
Basic Application Process:
Prepare Your Surface: Make sure your clay piece is leather-hard when you’re ready to paint. This firm state means it’s dry but still workable—perfect for your brush strokes!
Start Painting: Using soft strokes, apply the underglaze to your piece. Start with lighter colors first and build your way up. It allows better layering techniques and a more dynamic finish.
Let It Dry: Wait for the underglaze to dry completely before applying more layers. This can take around 30 minutes depending on your environment.
Final Touch: After your last layer dries, you can add a clear glaze to finish your piece (like Amaco Clear Glaze for a glossy finish, around $21).
Troubleshooting Common Application Issues
Every beginner faces challenges, and I’m no stranger to that. If you’ve had problems like bubbling or fading colors, here’s how to navigate some common pitfalls:
Bubbling: This often occurs if you apply too thick a layer. Keeping your strokes light and even can prevent this.
Fading Colors: Underglaze can look different once fired. Always do test pieces first. Use a small sample of your glaze over the undeglaze to see how it changes post-firing.
Smudging: If you accidentally touch an area while it’s wet, it can smudge. Be patient and let each layer dry completely before touching it.
Comparing Underglaze and Glaze
Now, let’s clear the air on something that trips a lot of new potters up: what’s the difference between underglaze and traditional glaze? As someone who’s been there, let me break it down for you.
Key Differences Between Underglaze and Glaze
| Feature | Underglaze | Glaze |
|---|---|---|
| Application | Applied before glazing | Applied as a final coat |
| Result | Color remains vibrant, less shiny | Often glossy or matte finish |
| Functionality | Used for decoration and detail | Seals and protects the pottery |
| Firing | Firing temperature varies, depending on underglaze | Generally one firing process |
As you can see, both serve distinct yet complementary purposes. When you want to add pizzazz to your pottery while retaining the clay’s original texture, underglaze is your best friend. It offers a rich color variety that stays true even after firing.
When to Use Underglaze vs. Glaze
Still confused about when to choose one over the other? Think of it this way—if your goal is to enhance the design of your piece with vibrant patterns and textures, underglaze is your choice. On the flip side, if you’re looking for that smooth, glossy finish that seals the pot for functional use, glaze is the way to go.
But here’s a pro tip: experimenting with combining both can yield stunning results. Picture a beautifully detailed vase with underglaze designs topped with a clear glaze for that perfect shine—it’s a scene of pure artistic bliss.
“Mixing methods creates a unique style and character for each piece you create.”
Safety and Food Considerations
When venturing into the world of ceramics, safety is key, especially if you plan to eat or drink from your creations. Understanding how to use underglaze safely is essential to enjoying it fully.
Is Underglaze Safe for Food Use?
This is a common concern, and rightly so. Most commercial underglazes, like those from Laguna Clay, are non-toxic and safe for food use once fired to the correct temperature. Always check the product specifications for safety certifications, and ensure you’re following the recommended firing temp.
Food-Safe Pottery Basics:
- Ensure your underglaze is food-safe.
- Use a clear glaze to seal the underglaze.
- Double-check with the manufacturer’s guidelines.
By following these tips, you can create pottery that not only looks incredible but is safe for daily use.
How to Make Your Own Underglaze
If you’re feeling adventurous, why not try making your own underglaze? It’s easier than you might think! Here’s a simple recipe you can start with using common materials you may already have at hand.
DIY Recipe for Underglaze:
Materials Needed:
- Kaolin clay
- Pigment powders (like oxides)
- Water
Mixing Steps:
- Combine 1 part kaolin clay with 1 part pigment.
- Slowly add water until desired consistency is reached (similar to pancake batter).
- Strain the mixture to remove lumps.
This DIY method can be a cost-effective, satisfying way to explore different colors and textures. Plus, you’ll have the satisfaction of knowing you made it yourself!
Artistic Case Studies and Project Inspiration
Looking for inspiration? I’ve got some fantastic case studies of artists who’ve used underglaze to achieve stunning results.
Case Studies: Successful Underglaze Projects
Check out Sarah P’s work—a potter I came across at a local exhibition. She shared her huge ceramic bowls adorned with intricate floral designs using underglaze. Each piece tells a story, blending color and craftsmanship. You can see how she employs layering techniques to create depth, and they truly stand out in her collection.
Another artist, Tom J, focuses on functional pottery and uses underglaze to add playful patterns to his mugs. His work is accessible and reminds beginners that it’s all about having fun with the process.
Inspirational Projects for Beginners
If you’re feeling stuck, start small! Think about creating simple projects like plant pots, mugs, or decorative tiles—all of which can be enhanced with underglaze. Here are a couple of beginner-friendly ideas:
- Personalized Mugs: Use underglaze to paint your favorite quotes or designs. Who wouldn’t love a custom mug for their morning coffee?
- Decorative Tiles: Create wall hangings with bold patterns using underglaze. These can be a stunning focal point in any room and are a great project to test your techniques.
So, take that leap! Start mixing and matching colors, experimenting with techniques, and finding your personal style in pottery that showcases your artistic vision.
Remember, the beauty of underglaze lies in the journey of experimentation—allowing each piece’s unique character to shine with your creative touch!
Frequently Asked Questions
What types of surfaces are best for applying underglaze?
Underglaze adheres best to bisque-fired clay, which has a porous surface. It’s crucial that the surface is clean and free from dust. Avoid applying underglaze on non-porous surfaces, as it may not bond effectively.
Can underglaze be used on all types of clay?
While underglaze is versatile, it’s important to check compatibility with specific clay bodies. Earthenware and stoneware are typically good choices, but underglaze may react differently with porcelain due to its smoother finish. Always test a small area first.
How do temperature changes affect underglaze during firing?
Temperature fluctuations can impact the final finish and color of underglaze. Lower firing temperatures might result in brighter colors, while higher temperatures can lead to muted shades. It’s essential to refer to the manufacturer’s instructions for optimal firing temperatures.
Can I layer different colors of underglaze?
Yes, layering underglazes can create unique color combinations and effects! To achieve this, allow each layer to dry completely before applying the next one. Experimenting with different application techniques like sponging or stippling can enhance visual interest.
What are some common mistakes beginners make with underglaze?
Common mistakes include applying underglaze too thickly, leading to bubbling or cracking during firing. Beginners may also forget to allow layers to dry before applying additional coats. Proper surface preparation is essential to avoid these pitfalls.
Is it possible to mix underglaze colors?
Absolutely! Mixing colors expands your palette and allows for custom shades. Use a clean mixing tool and ensure thorough blending for uniformity. Test a small sample before committing to an entire project to avoid unexpected results.
How does underglaze compare to other decorative techniques like slip decoration?
Underglaze is usually more versatile than slip decoration as it allows for precise detail work and a wider range of colors. However, slip can create unique textures and effects that underglaze cannot replicate. Choosing between them depends on your artistic vision.
What safety precautions should I take when working with underglazes?
Always wear gloves and a mask when working with powdered underglaze to avoid inhaling particles. Ensure your working area is well-ventilated. Follow safety data sheets provided by manufacturers for specific handling and storage instructions.
Can underglazes be used on both functional and decorative pottery?
Yes, many underglazes are safe for functional pottery, but it’s crucial to check that they comply with food safety regulations. Non-toxic underglazes can enhance decorative elements while complying with health standards, making them suitable for both decorative and functional use.
Are there special tools needed for applying underglaze effectively?
Utilizing a variety of tools can enhance underglaze application. Brushes, sponges, and spray bottles each create different effects. Investing in specialty brushes can help in achieving intricate designs. Explore various tools to find what works best for your artistic approach.
