
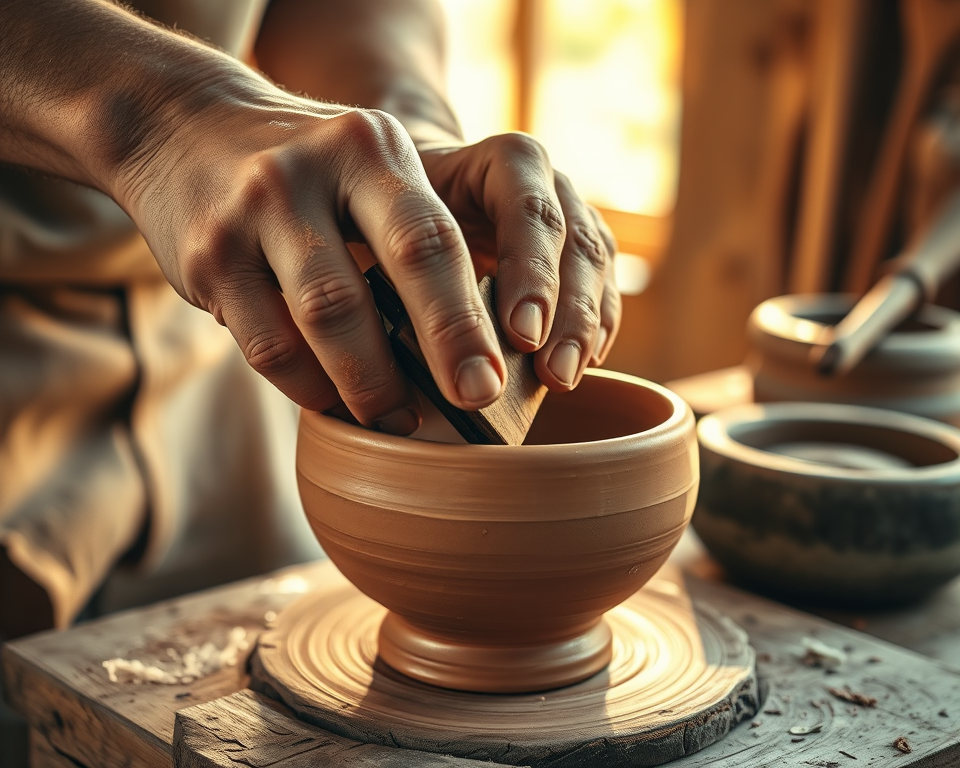
Pottery is one of those magical forms of self-expression, isn’t it? There’s something incredibly satisfying about molding clay into a beautiful piece that reflects our creativity. But if you’ve ever felt a pang of confusion when it comes to stamping your pottery, trust me, you’re not alone. As a fellow craft enthusiast, I can assure you that timing is everything when it comes to achieving those stunning stamped designs! Let’s break it down so you can stamp with confidence and flair.
Table of Contents
- 1 Key Takeaways
- 2 Understanding the Basics of Pottery Stamping
- 3 Essential Tools for Pottery Stamping
- 4 Enhancing Your Potter’s Skills: Timing and Techniques
- 5 Addressing User Frustrations and Enhancing Creativity
- 6 Frequently Asked Questions
- 6.1 What is the best stage of clay to start stamping?
- 6.2 How can I prepare my clay surface for stamping?
- 6.3 What types of stamps are best for beginners?
- 6.4 Can I make my own pottery stamps at home?
- 6.5 What common mistakes should I avoid when stamping pottery?
- 6.6 How does the ambient environment affect stamping techniques?
- 6.7 Are there specific tools I should use for pressing stamps into clay?
- 6.8 What if my stamped designs are not coming out as expected?
- 6.9 Can I combine pottery stamping with other pottery techniques?
- 6.10 How can I store my pottery stamps to preserve them?
Key Takeaways
- Stamping should ideally happen when your clay is leather-hard, allowing for crisp, defined impressions.
- The right tools, like the Sculpey Texture Roller or a customized rubber stamp, can elevate your designs significantly.
- Common mistakes include stamping too early or too late; timing your stamping can significantly impact your piece’s finish.
- Don’t forget to have fun and be creative—pottery is about personal expression!
Understanding the Basics of Pottery Stamping
Before we leap into when exactly to stamp your clay, let’s get a solid grasp on what pottery stamping really is. Picture this: you’re working with a beautiful slab of clay that’s begging for some personality. Stamping is all about adding that unique flair! You can use various tools to create imprints, textures, or patterns that showcase your artistic vision.
It’s essential to grasp some pottery fundamentals. Clay has different stages of drying, which affects its malleability and responsiveness to stamping. The different types of clay, like earthenware, stoneware, or porcelain, can also significantly impact how your stamped designs turn out.
Knowing when to stamp clay also depends on the textures you’re aiming for. Perhaps you want a softer look; you’ll want to stamp when the clay is more pliable. On the flip side, if you’re going for crisp, clean impressions, you’ll want your clay to be leather-hard.
When to Stamp Clay: Exploring Timing Options
Here’s where it gets interesting! The ideal time to stamp your clay is definitely when it reaches that leather-hard stage. What’s “leather-hard,” you ask? It’s that magical moment when your clay feels firm but still retains some moisture. I’m talking about a state where you can press into it without bending it overly or squashing it flat.
Most potters recommend waiting 1–2 hours after your clay has been thrown or molded for stamping. Ensure your clay is not too wet; otherwise, you’ll end up with mushy impressions. Similarly, if it’s too dry, your stamps won’t leave a mark. It’s all about finding that perfect balance. Here’s a quick breakdown of the clay drying stages:
| Clay Stage | Characteristics | Ideal for Stamping? |
|---|---|---|
| Wet | Pliable and easily moldable | No |
| Leather-Hard | Firm, retains moisture | Yes |
| Bone Dry | Crumbly and super dry | No |
| Bisque Fired | Actually hardened in the kiln | No, but can be decorated |
Pro Tip: If you’re unsure, test the clay with a finger. A gentle press should leave a slight impression. If it collapses or feels too wet, hold off for a bit!
Essential Tools for Pottery Stamping
Let’s talk tools! You can’t stamp effectively without the right set of tools by your side. Sure, you could wing it with random objects lying around, but where’s the fun in that? Investing in quality stamping tools goes a long way in elevating your pottery game.
I’ve had fantastic results using the Sculpey Texture Roller, which comes in various designs that add depth to your pieces without too much hassle. You can snag one for around $12 on Amazon, and trust me, it’s worth every penny. Or, if you’re feeling crafty, you could make your own stamps from rubber or even carved potatoes (yes, really!).
Another fantastic option is a customized rubber stamp. You can create stamps of initials, symbols, or unique patterns that resonate personally. Websites like Etsy or craft stores often carry a great selection. Prices can vary, but you can usually find something for under $20.
Key Techniques for Effective Pottery Stamping
You’ve got your timing sorted out and your tools at the ready. Now, let’s gear up for a hands-on approach! Here’s where I’ll share some tried-and-true stamping techniques that’ll help you wow your friends (and yourself).
Step-by-Step Guide to Stamping Pottery
Prepare Your Surface: Start by rolling out your clay to the desired thickness. A uniform thickness is vital to ensure your stamp impresses evenly across the surface.
Choose Your Stamp: Whether it’s a texture roller or a custom design, make sure your stamp is clean and free from any debris.
Test Your Stamp: Grab a piece of scrap clay and try your stamp out! This way, you can ensure it’s taking properly and see how much pressure you need to apply.
Get Stamping: Firmly press your stamp into the leather-hard clay. Use even pressure for a clean impression, and don’t hesitate to apply a bit of extra force if needed.
Remove the Stamp Gently: Pull the stamp straight up, avoiding any twisting that may distort your design.
Finish Up: Once stamped, you can continue to shape or embellish your piece as desired.
Remember: It’s okay to make mistakes! They can lead to new techniques or styles that you may not have attempted otherwise.
Common Mistakes to Avoid While Stamping
Even the best of us make mistakes, right? But knowing the common pitfalls can help you steer clear of them. Here are a few things to watch out for during your stamping journey:
- Stamping Too Early or Late: Always err on the side of caution. If you’re not sure, wait a bit longer rather than jumping in too soon.
- Using the Wrong Tool: Each tool has its personality. Using a stamp not designed for clay can lead to disaster (or a hot mess).
- Too Much Pressure: If you apply too much force, you can flatten your design instead of creating depth. Find that sweet spot!
Here’s a quick reminder:
1. Stamp when your clay is leather-hard.
2. Test your stamps first.
3. Enjoy the process—perfection isn’t the goal; creativity is!
Enhancing Your Potter’s Skills: Timing and Techniques
As we sharpen our skills, let’s focus on refining techniques that’ll skyrocket your pottery to the next level. Mastering stamping isn’t just about the technique—it’s about timing, creativity, and understanding your clay’s nature.
Key Timing Tips for Stamping Pottery
Timing is crucial, but let’s not forget about the overall approach to stamping. Here are a few helpful strategies to integrate into your pottery practice:
Plan Your Design Ahead of Time: Before you even start working with your clay, sketch out your ideas. This helps you visualize your design and gives you a clear path to follow.
Listen to Your Clay: As you become more acquainted with your clay, you’ll develop an instinct for its stages. Trust me; it’ll guide you in your stamping journey.
Experiment with Different Techniques: Try layering stamps or combining textures to achieve a unique look! Don’t limit yourself to one stamp—be brave!
“Creativity takes courage.” – Henri Matisse. Let this inspire you!
Engaging Visual Examples and Diagrams
Visual aids are powerful tools to reinforce learning. If you’re a visual learner, don’t hesitate to hop on YouTube or Pinterest to find videos and images demonstrating various stamping techniques. Seeing others in action can ignite your creative spirit!
Here’s a visual idea: You might create a visual reference chart illustrating various stamping designs and when to use them. This can be helpful not just for you but for your pottery community as well!
Addressing User Frustrations and Enhancing Creativity
Let’s tackle some of the frustrations that potters like us often face. Crafting pottery can be overwhelming, especially if you’re constantly questioning whether you’re doing it right.
It’s essential to keep the creative fire burning and alleviate any stress! If you feel stuck, try the following:
Join a Potter’s Community: Whether online or in person, connecting with fellow craftspeople provides invaluable support and shared knowledge.
Participate in Workshops: Real-time workshops allow you to learn new techniques while also making connections. Plus, you’ll walk away with professional insights.
FAQs on Pottery Stamping Techniques
You might still have a few burning questions. Here’s a compilation of the frequently asked ones to guide your pottery journey:
Q: What is the best clay for stamping?
A: While many clays can work, I always recommend earthenware for beginners due to its forgiving nature and vibrant finishes. Stoneware is a close second for durability.
Q: Can you stamp air-dry clay?
A: Yes! Just make sure to stamp when it’s in a semi-dry state for the best impressions.
Q: How long should pottery dry before stamping?
A: Aim for about 1–2 hours; this will vary depending on your environment, but check that leather-hard state!
Community Insights and User Experiences
Lastly, sharing our experiences is what truly brings us closer in this pottery world. Engaging with others allows us to draw from their unique journeys. Many potters find that sharing their tips and struggles enhances their skills.
Pottery is about exploration, self-expression, and growth. Don’t shy away from sharing your work or asking questions. Whether it’s via forums, classes, or social media, surrounding yourself with others who share your passion will create a rewarding experience.
I hope this energizes your pottery stamp journey! Embrace the process, experiment with designs, and have a blast creating your masterpieces. Happy stamping!
Frequently Asked Questions
What is the best stage of clay to start stamping?
The optimal stage for stamping clay is when it is leather-hard. This is the state where the clay is firm enough to hold its shape but still retains some moisture, which ensures that the stamp can create clear impressions without damaging the piece.
How can I prepare my clay surface for stamping?
To prepare your clay for stamping, make sure the surface is smooth and free of any dust or debris. You can lightly sponge the area to enhance the texture and remove any loose particles. This preparation helps achieve better impressions and details in the stamped design.
What types of stamps are best for beginners?
Beginners should start with simple stamps made from softer materials like rubber or silicone. They are easier to use and can be less expensive. As you gain confidence, you can explore more intricate designs and materials for more complex effects.
Can I make my own pottery stamps at home?
Yes! You can create custom pottery stamps using materials like fun foam, erasers, or even clay itself. Cut shapes or patterns into these materials, and they can serve as unique stamps for your pottery projects, adding a personal touch.
What common mistakes should I avoid when stamping pottery?
Some common mistakes include applying too much pressure, which can distort the design, or stamping on clay that is too soft, which may lead to unclear impressions. Always ensure that the clay is at the right consistency for the best results.
How does the ambient environment affect stamping techniques?
Factors such as humidity and temperature can influence the drying time of clay, thus affecting the timing of your stamping. In drier conditions, clay can harden quickly, prompting you to stamp sooner. Always monitor your environment and adapt your timing accordingly.
Are there specific tools I should use for pressing stamps into clay?
Using a sturdy, flat tool like a small wooden block or a mallet can help evenly distribute pressure when using stamps. This ensures that the impression is consistent and clear. Additionally, using a brayer can help in creating even pressure for larger stamped areas.
What if my stamped designs are not coming out as expected?
If your impressions aren’t turning out well, consider adjusting the pressure you apply or the timing of when you stamp the clay. Also, check if your stamps are clean and free from clay residue that could impact the quality of the design.
Can I combine pottery stamping with other pottery techniques?
Absolutely! Pottery stamping can be combined with various techniques like carving, glazing, or painting to enhance your pottery’s final appearance. Layering different methods can create unique and beautifully decorated pieces that reflect your style.
How can I store my pottery stamps to preserve them?
To preserve your pottery stamps, store them in a cool, dry place away from direct sunlight. Keep them in a protective case or a drawer to avoid damage. If they’re made of softer materials, avoid heavy objects on top that could deform them.
