
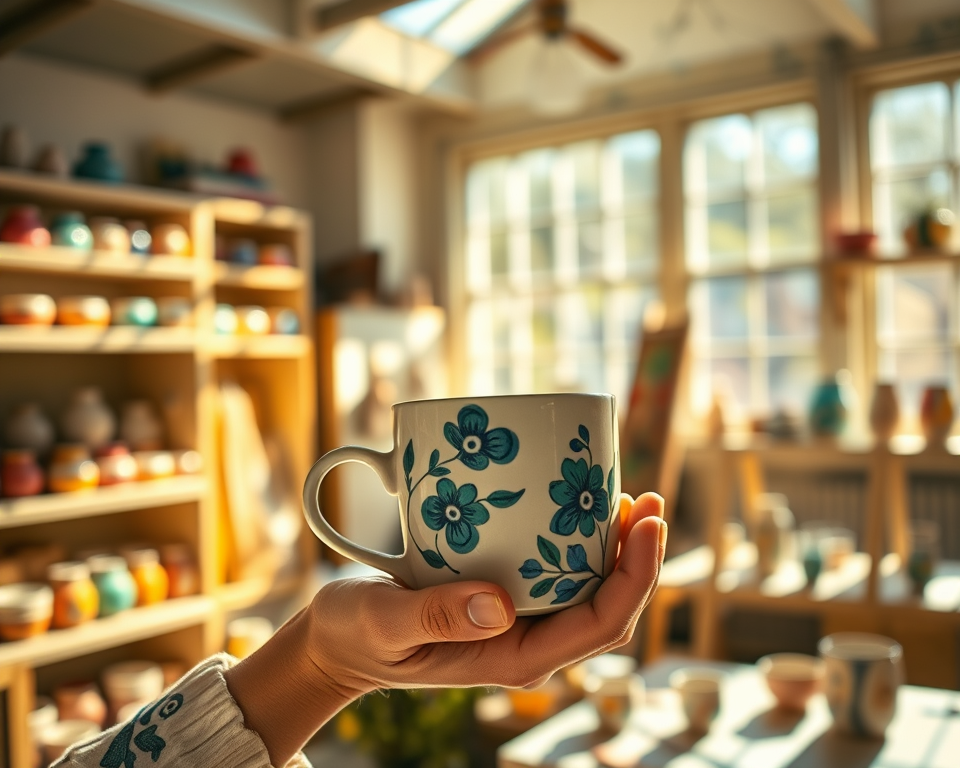
Hey there, fellow creators! Whether you’re diving into pottery painting for the first time or looking to brush up on your skills, it’s exciting to take your artistic flair to new heights. I remember the first time I picked up a paintbrush and thought, “Can I really turn this plain old clay into a masterpiece?” Spoiler alert: Yes, you can! You just need to know the right conditions to get started. So, let’s get into the nitty-gritty of when and how to paint pottery effectively.
Table of Contents
- 1 Key Takeaways
- 2 Understanding the Right Conditions for Painting Pottery
- 3 Choosing the Right Time to Paint
- 4 Selecting the Best Materials and Paints
- 5 Tips for Beginner Pottery Painters
- 6 Encouraging Community Engagement and Learning
- 7 Frequently Asked Questions
- 7.1 How does humidity affect pottery painting?
- 7.2 What temperature is ideal for painting pottery?
- 7.3 How do I organize my painting tools effectively?
- 7.4 What are common mistakes beginners make when painting pottery?
- 7.5 Why is it important to schedule painting sessions around pottery firing times?
- 7.6 How can I find local pottery painting classes?
- 7.7 What types of paint are safe for pottery?
- 7.8 Can I use regular paint on pottery?
- 7.9 What should I do if my paint smudges while drying?
- 7.10 How can I join pottery painting communities for support?
Key Takeaways
- Timing is crucial: Understanding the right time and conditions can make or break your pottery painting experience.
- Choose the right materials: Using suitable paints and supplies significantly impacts your results.
- Patience pays off: Proper drying and curing times are essential for a beautiful finish.
- Get inspired: Join pottery communities or classes for support, tips, and to share your progress!
Understanding the Right Conditions for Painting Pottery
Before you grab your brushes and paints, let’s talk about optimal painting conditions. The environment you choose can greatly influence how smoothly your project goes. Think about it: You wouldn’t paint in a hurricane, right?
The Impact of Weather on Painting Pottery
Ever tried to paint when it’s raining cats and dogs outside? I have, and trust me, it wasn’t pretty. The humidity levels really do affect the way paint adheres to the surface of your pottery. If you’re in a humid spot, the paint may take longer to dry or not adhere properly.
Ideal conditions for pottery painting usually hover around:
– Temperature: between 70°F and 85°F
– Humidity: 40% to 60%
During winter, you might find yourself in a drafty space. Always make sure your workspace isn’t too cold or damp. It can cause all sorts of issues like cracking or uneven colors.
“Creating art is a beautiful journey, but the right path can make the ride a whole lot smoother!”
Setting Up Your Painting Workspace
Now that we’ve covered the weather, let’s get into setting up your workspace. An organized space makes painting feel so much easier. It’s all about having minimal distractions and easy access to your tools.
Here are some key components for a great pottery painting station:
– Good Lighting: Natural light is ideal, but a daylight LED lamp works wonders, too!
– A Flat, Clean Surface: You don’t want to trip over old paint or tools while you’re in the zone.
– Tool Organization: Use trays or bins to categorize your brushes, paints, and other supplies.
Here’s a quick breakdown of an efficient workspace setup:
| Item | Importance |
|---|---|
| Bright Lighting | Helps you see your work clearly |
| Flat Surface | Essential for steady painting |
| Organized Supplies | Quick access leads to a more fluid process |
Choosing the Right Time to Paint
Timing really does matter when it comes to painting pottery. I’ve had plenty of instances where I thought I could paint in the evening, only to find that I was rushing the drying. Let’s break down the nitty-gritty of scheduling your painting sessions.
Drying and Curing Times Explained
You’re going to want to factor in both drying and curing times for your paint to stick properly to the ceramic. Some paints, particularly acrylics, can dry way faster than glazes. Understanding the differences is vital.
General Drying Times:
– Acrylic Paint: Dries to the touch in about 10-30 minutes but needs 24-72 hours to fully cure.
– Pottery Glaze: Usually requires several hours to dry before you put it in the kiln, but it also has a curing process afterward.
Keep in mind: Being patient will pay off. You might feel antsy to move on to the next color or process, but waiting will yield a polished look.
“Patience isn’t just a virtue; it’s a crucial step in making your pottery shine!”
Scheduling Your Painting Around Pottery Firing
If you’re working with kiln-fired pottery, timing is even more critical. So, let’s sort this out. Generally, you want to factor in firing timings as well. Depending on your kiln’s schedule, you may want to plan your painting around when you can fire.
If you’re planning to fire your pieces after painting, it’s best to:
– Paint your pieces and let them dry completely first.
– Schedule your kiln firing within a few days but ensure they’re fully dried.
When planning your painting sessions, I recommend creating a simple calendar. Break down when you’ll paint, when to dry, and when you’ll fire!
Selecting the Best Materials and Paints
Alright, now you’ve got the timing down. Next up: choosing the right materials. If you want your pottery to look fantastic, you must pick quality products. Trust me, the difference is night and day.
Understanding Paint Types for Pottery
So, what type of paint do you want to use? I’m thrilled you asked! The two main types you’ll likely encounter are acrylics and glazes.
- Acrylic Paints: These are super versatile and easy to work with, perfect for beginners. Some great brands include Liquitex and Golden Heavy Body Acrylic, which range from $15 to $30 per 8oz tube.
- Pottery Glazes: These create a glossy finish and require a kiln for proper application. Brands like Amaco and Mayco offer amazing options at about $10 to $25 for a pint.
A quick comparison might look something like this:
| Type | Pros | Cons | Best for |
|---|---|---|---|
| Acrylic | Easy to use, quick drying | Needs sealing for durability | Beginners |
| Glaze | Beautiful finish, durable | Requires kiln, longer process | Experienced potters |
Safety Considerations When Painting Pottery
Safety should never take a back seat! Always check that your materials are non-toxic. For example, Amoco’s colors are food-safe and non-toxic, making them perfect for dinnerware. When you’re painting, be mindful of ventilation; having an open window or fan on can help keep fumes at bay.
Make sure you’re also using protective gear. Grab a pair of gloves and maybe even a mask if you’re worried about inhaling any dust or paint particles. A little investment in your safety will go a long way.
Tips for Beginner Pottery Painters
Alright, it’s time for the good stuff—let’s talk about tips for newbies. I got a couple of pieces of advice that I wish I’d known when I first started.
Common Pitfalls to Avoid
We all make mistakes, but knowing some common errors beforehand can save you a headache later. Here are a few pitfalls you might want to sidestep:
- Rushing Drying Times: I know it’s exciting, but don’t attempt to paint over wet color.
- Using the Wrong Paint: Not all paints are created equal, especially when it comes to ceramics.
- Skipping Surface Preparation: Clean your pottery before painting to ensure adherence.
By avoiding these mistakes, your journey into pottery painting becomes way smoother and definitely more enjoyable.
“You’ll never regret taking your time and doing things right!”
Encouragement and Inspiration for Practice
Inspiration can come from anywhere! Don’t hesitate to explore different styles and techniques. Join communities—both online and in your local area. Social media is packed with talented artists, and connecting with them can help you find your own style.
Consider creating a painting routine. Even if it’s just 15 minutes a day, that small amount of time can encourage consistency and improvement. And remember, your pottery doesn’t have to be perfect; it just has to feel like you.
Finding Your Artistic Voice
The beauty of pottery painting lies in the personal expression you bring to each piece. Don’t rush the process! Enjoy experimenting with colors and techniques. Keep your spirit light, and don’t forget that practice makes progress, not perfection.
Encouraging Community Engagement and Learning
Now that you’re all set up and ready to paint, let’s chat about the community aspect. Engaging with other pottery enthusiasts can elevate your learning experience tremendously.
Benefits of Taking Pottery Painting Classes
Sign up for pottery painting classes if you can! Not only do they offer structured learning, but you also get the chance to meet local artists. Having an instructor guide you can answer questions on the spot that might save a ton of future frustration.
Classes typically range between $30 to $50 per session. Many local art studios offer bulk pricing if you enroll for a series of classes, which can be a fantastic investment in your skills.
Connecting with Fellow Pottery Enthusiasts
Don’t underestimate the value of building a network. Finding local pottery groups or meet-ups can open doors to collaboration and shared tips. Participating in craft fairs or community events can provide exposure and opportunities to showcase your work.
Remember, it’s not just about creating; it’s about the relationships you form along the way. Many pottery enthusiasts will gladly share their tricks, tips, and even the products they swear by. You’ll find that community support can be a significant source of motivation.
There you have it! With the knowledge of timing, workspace setup, and community engagement, you’re well on your way to creating stunning pottery pieces. The world of pottery painting is incredibly rewarding, and your creativity is your greatest asset. Now go forth, paint, and let your artistic spirit shine!
Frequently Asked Questions
How does humidity affect pottery painting?
Humidity can significantly impact the drying time and adhesion of paint on pottery. High humidity often results in longer drying times, which can lead to smudging if you’re not careful. It’s best to paint in moderately humid conditions, ideally around 40-60% and to ensure proper ventilation in your workspace.
What temperature is ideal for painting pottery?
The ideal temperature for painting pottery typically falls between 65°F and 75°F (about 18°C to 24°C). This range helps maintain a balance where paints dry at a manageable rate without risking paint lifting or cracks due to rapid drying.
How do I organize my painting tools effectively?
A well-organized painting station can dramatically enhance your efficiency. Create designated areas for brushes, paints, and other supplies. Use containers or caddies to separate different tools, and ensure everything is within easy reach to minimize distractions during your painting sessions.
What are common mistakes beginners make when painting pottery?
New pottery painters often rush the drying process or skip essential steps like priming the surface. Other common mistakes include using incompatible paint types and neglecting proper ventilation during painting sessions. Taking time to plan and Review techniques will help to avoid these pitfalls.
Why is it important to schedule painting sessions around pottery firing times?
Scheduling painting sessions around firing times ensures that the entire process, from painting to glazing and firing, flows smoothly. Firing can take several hours, and waiting until after the kiln has cooled before reapplying additional paint or glaze is crucial for achieving the desired finish.
How can I find local pottery painting classes?
To find pottery painting classes near you, consider checking community centers, local art studios, or craft stores. Many organizations also offer online classes, providing flexibility and the opportunity to connect with artists beyond your area.
What types of paint are safe for pottery?
Non-toxic acrylics and specially formulated pottery paints are generally safe for pottery. Always look for paints labeled as food-safe if you plan on using the painted pieces for serving food. Reading product labels and descriptions is key to ensuring safety.
Can I use regular paint on pottery?
Regular paint is not recommended for pottery, as it may not adhere well to the surface or be food-safe. Instead, choose paints specifically designed for ceramics to ensure durability and safety after firing.
What should I do if my paint smudges while drying?
If your paint smudges, it’s essential to address it promptly. Allow the paint to dry completely before trying to fix it; then, you can either touch up the area with a compatible paint or incorporate the smudge into your design creatively.
How can I join pottery painting communities for support?
Joining pottery painting communities can be done through local workshops, social media groups, or forums dedicated to art and pottery. Engaging with fellow artists helps to share tips, challenges, and inspiration while fostering a sense of community.
