
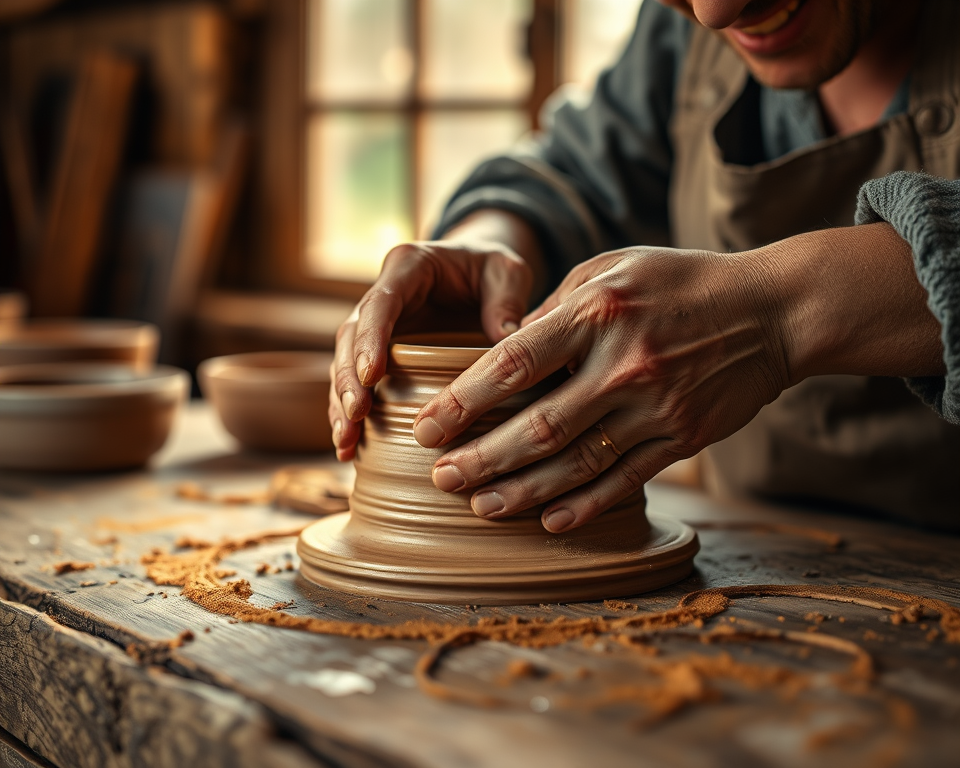
Creating pottery can feel like an intimidating process. Let’s be real: when you think of crafting your clay masterpieces, you might picture big, roaring kilns and pricey equipment. But I’m here to tell you that you can absolutely make unique pottery without a kiln—and it’s way easier and fun than you might expect!
Not only that, but the freedom of crafting without the need for firing tubes opens up a whole world of creative possibilities that you may not have considered before. So, buckle up, because we’re about to explore exciting techniques that have you crafting like a pro right from the comfort of your home.
Table of Contents
- 1 Key Takeaways
- 2 Alternative Firing Methods
- 3 Materials and Tools Needed
- 4 Safety Considerations
- 5 Common Challenges and Solutions
- 6 Decorative Techniques and Finishing Touches
- 7 Frequently Asked Questions
- 7.1 What types of clay can I use for non-kiln pottery?
- 7.2 How do I ensure my air-dry pottery stays strong and durable?
- 7.3 Can I use regular paint on my air-dry clay items?
- 7.4 What are the best techniques for preventing cracks in air-dry pottery?
- 7.5 How long does air-dry clay take to completely dry?
- 7.6 What tools do I need to get started with non-kiln pottery?
- 7.7 How can I add texture to my air-dry clay projects?
- 7.8 Can I use a regular oven for baking polymer clay?
- 7.9 Are there any safety precautions I should take while crafting pottery?
Key Takeaways
- You can create beautiful pottery using alternative firing methods like air drying and oven baking.
- Picking the right clay is crucial; something like Das Air Hardening Modeling Clay is perfect for beginners.
- Safety first! Ensure you’re using non-toxic materials and handling them properly.
- Decorative techniques can amp up your pottery game, using paints or textures to personalize your pieces.
- Don’t sweat the small stuff—fixing common clay issues is part of the learning process!
Alternative Firing Methods
When it comes to making pottery without a kiln, you’ve got a couple of fantastic options at your fingertips. Let’s break down the two most popular techniques: air drying pottery and oven-bake clay.
Air Drying Pottery
Air drying clay is a total game changer! I still remember the first time I tried it—it was unbelievably fun and liberating. This method allows you to mold your creations and then let them cure naturally in the air. You don’t need a fancy setup or extensive skills. Here’s the scoop.
What You Need:
– Air Dry Clay: I’m a fan of Crayola Air-Dry Clay. It’s perfect for beginners and kids alike, coming in at around $10 for 2.2 pounds. It’s soft, easy to mold, and has a great finish once dry.
– Basic Sculpting Tools: You can grab a DIY pottery tool set for about $15 on Amazon. These usually include various shaping tools and blades to help with detailed work.
“The beauty of air-dry clay lies in its simplicity. No stress, no mess, just pure creativity!”
Drying Tips:
– Thickness: Aim for a consistent thickness of about 1/2 inch. Thinner pieces can crack as they dry, so keep things even!
– Humidity: Make sure to dry your pottery in a well-ventilated area. Excess humidity can make drying slower, leading to more issues.
– Time: Depending on the size and thickness, your pieces might take anywhere from 24 to 72 hours to dry completely.
Oven-Bake Clay Techniques
If you’re looking for that ceramic-like finish, then oven-bake clay is your best buddy. This method requires simply baking your creations in a household oven, which dramatically hardens the clay so you can create functional pottery.
Choosing the Right Clay:
Polymer clay is where it’s at! Brands like Sculpey and Fimo are super popular. They come in vibrant colors and allow for a lot of creative expression. Prices for 2-ounce blocks start around $2, making it accessible for all budgets.
Baking Instructions:
1. Preheat your oven to 275°F (135°C).
2. Place your creations on a baking sheet lined with parchment paper (to avoid sticking).
3. Bake for 15-30 minutes, depending on the thickness. Generally, it’s about 15 minutes for every 1/4 inch of thickness.
4. Let it cool down completely before handling.
“Oven-baked clay really opens up the realm of possibilities! It’s fantastic for creating durable, decorative pieces that won’t break easily.”
Materials and Tools Needed
Let’s talk about what you’re going to need before diving into these fun pottery techniques. Trust me, having the right materials makes all the difference!
Choosing the Right Clay
Starting with clay choice can feel overwhelming, but you really can’t go wrong with a few basic options:
- Air Dry Clay (like Crayola): Perfect for beginners wanting to create without worrying about firing.
- Polymer Clay (like Sculpey): Best if you want more durable and detailed pieces. Plus, it doesn’t require any special equipment!
| Clay Type | Characteristics | Best For | Price Range |
|---|---|---|---|
| Air Dry Clay | Soft, easy to mold, dries naturally | Beginners, kids, casual projects | $10 for 2.2 lbs |
| Polymer Clay | Comes in many colors, durable when baked | Detailed functional pottery | $2 per 2 oz |
Essential Tools for Home Pottery
You might be surprised at how little you need to get started. Here’s what I’ve found useful over time!
- Basic Sculpting Tools: A small toolkit with a knife, needle tool, and sponge can go a long way. You can usually purchase these for $15.
- Cutting Mat: This is great for protecting your surfaces and comes in at about $10. A must-have for easy cleanup!
Safety Considerations
Before we get too deep in the clay, let’s chat about safety. While crafting is fun, it’s important to do it right to keep you and your loved ones safe.
Safety Tips for Beginners
If you’re new to this, here are some solid safety tips:
– Choose Non-Toxic Materials: Always look for non-toxic labels, especially if kids are crafting alongside you. Brands like Crayola and Sculpey usually have your back.
– Work in a Well-Ventilated Area: Odors from some clays can be overwhelming. Open a window or crank on that exhaust fan.
– Use Protective Gear: If you’re using any tools that could cause cuts, have some gloves and goggles handy.
“The most important thing is to have fun, but wrapping yourself in safety doesn’t hurt!”
Avoiding Common Hazards
When working with clay, managing its handling effectively can prevent potential hazards:
– Consider clay dust. Avoid breathing in any excess by cleaning up any mess promptly.
– Keep your workspace tidy. A clean space not only boosts creativity but minimizes the chance of accidents.
Common Challenges and Solutions
Every craft has its bumps along the way, and pottery is no exception! Here’s how to tackle some of the most common issues you might face while potting without a kiln.
Addressing Cracking and Warping
If you’ve ever created something that cracked as it dried, you’re definitely not alone. Here’s what I’ve learned:
– Preventing Cracking: Keep your creations from drying too fast. You can often mist with a little water as they dry for a longer process (especially with air-dry clay).
– Warping Solutions: If you notice unwanted deformation, you can shape the clay to its original form lightly before it dries completely.
“Remember, every crack and warp is just a part of your learning process!”
Ensuring Durability
To make sure your pottery lasts, consider these tips:
– Reinforce your creations by adding textures. This not only looks great but strengthens your piece.
– Finish off with a protective sealant once everything is dry and sturdy. Look for something easy-to-apply like Mod Podge or spray sealants which can range between $5 to $15.
| Common Issue | Causes | Best Solutions |
|---|---|---|
| Cracking | Rapid drying or uneven thickness | Mist with water, ensure even thickness |
| Warping | Imbalanced weight or thickness | Shape before completely dry |
| Lack of durability | Unfinished surfaces | Apply sealants like Mod Podge for protection |
Decorative Techniques and Finishing Touches
Now that you’ve got your base ceramics down, let’s amp things up with some excellent decorative techniques!
Painting and Glazing Without a Kiln
Who says you need a kiln for glazing? Here’s what I do to finish off my pieces like a pro:
– Use acrylic paint. It’s easy, comes in many colors, and is generally non-toxic! Prices range from $0.50 to $3 per tube.
– After painting, seal your work with a clear acrylic spray once it’s dry. It’ll help keep your colors vibrant and intact.
“Your artistic expression doesn’t have to stop with the clay. Paint it, embellish it—give it a personality!”
Adding Texture and Layers
Want to elevate your pottery? Texture is your best friend.
– Different impression techniques can be used to create unique patterns—think of stamps, lace, or even natural textures like leaves.
– Consider layering your clay. By adding pieces and letting them dry before painting or sealing, you can create super interesting three-dimensional designs.
Mixing these techniques is not only a great way to show your personal flair, but it also makes your creations stand out as truly unique.
Embarking on this pottery journey without a kiln is incredibly freeing and rewarding. It’s a chance to express yourself at home in whichever way you desire. What’s stopping you? Happy crafting!
Frequently Asked Questions
What types of clay can I use for non-kiln pottery?
You can use several types of clay for non-kiln pottery, such as air-dry clay, polymer clay, and self-hardening clay. Each type has its unique properties and uses, allowing you to create different styles and functional pottery. For beginners, non-toxic and easy-to-manage options like air-dry clay are often recommended.
How do I ensure my air-dry pottery stays strong and durable?
To maintain the strength of your air-dry pottery, ensure that you thoroughly condition the clay before shaping it. Avoid rapid drying by keeping your pottery in a humid environment or covering it with plastic while drying. After completion, consider sealing your item with a non-toxic sealant for added protection.
Can I use regular paint on my air-dry clay items?
Using regular acrylic paint is suitable for air-dry clay items; however, ensure it is non-toxic and safe for crafts. After painting, you may want to apply a clear sealant to protect the artwork and enhance durability, especially for items that will be used or handled frequently.
What are the best techniques for preventing cracks in air-dry pottery?
To avoid cracks, work with manageable sizes of clay pieces, ensure even thickness when shaping, and allow for gradual drying. If you notice any cracks, you can attempt to mend them by moistening the cracked area and pressing it together gently before letting it dry again.
How long does air-dry clay take to completely dry?
The drying time for air-dry clay varies depending on the type, size, and thickness of the project. Typically, thin pieces dry within 24 hours, while thicker items may need several days. Always refer to manufacturer instructions for the specific product you are using for accurate drying times.
What tools do I need to get started with non-kiln pottery?
Basic tools for non-kiln pottery can include sculpting tools, crafting knives, a rolling pin, texture tools, and a sturdy work surface. You can also use household items like forks for texturing and brushes for painting. A well-equipped DIY pottery kit can help streamline your projects.
How can I add texture to my air-dry clay projects?
You can add texture to your air-dry clay projects using various methods, including stamping with textured items or pressing surfaces into the clay. Tools like silicone molds, found objects, or specialized texturing tools can create unique patterns and enhance the visual appeal of your pottery.
Can I use a regular oven for baking polymer clay?
Yes, you can use a regular household oven to bake polymer clay. Ensure that the oven is set to the correct temperature as indicated in the clay’s instructions. Avoid using a microwave, as it may not provide even heat, leading to uneven baking and potential burning.
Are there any safety precautions I should take while crafting pottery?
When crafting pottery, it’s essential to work in a well-ventilated area, particularly when using tools and paints. Always handle sharp instruments carefully, and wear protective gear like gloves if you are sensitive to certain materials. For children, ensure they are supervised and using age-appropriate, non-toxic supplies.
