
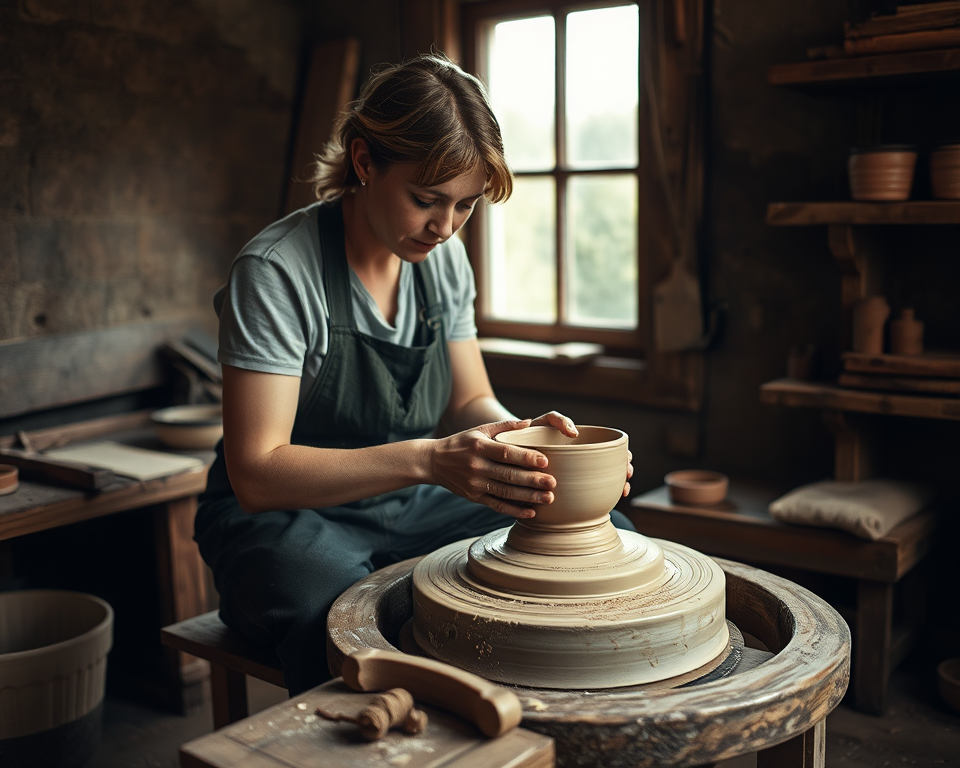
Ah, the magical world of pottery! There’s nothing quite like the feeling of shaping clay beneath your fingers and watching it transform into something beautiful. But let’s be real for a second—firing that pottery can feel intimidating, especially if you’re just starting out. I was there once, too, feeling that thrill mixed with a little anxiety over whether I was doing everything right. If you’re wondering about the pottery firing process—what equipment you need, safety tips, and, yeah, how not to blow things up—consider this your personal pep talk and playbook.
Table of Contents
- 1 Key Takeaways
- 2 Understanding the Pottery Firing Process
- 3 Equipment Needed for Firing Your Pottery
- 4 Step-by-Step Guide to Firing Pottery at Home
- 5 Safety Tips for Firing Pottery
- 6 Troubleshooting Common Firing Issues
- 7 Variations in Firing Methods
- 8 Frequently Asked Questions
- 8.1 What is the difference between bisque firing and glaze firing?
- 8.2 How do I know when my pottery is bone dry?
- 8.3 What are some common signs of poor firing in pottery?
- 8.4 How can I safely load and unload my kiln?
- 8.5 What factors can affect the firing temperature of my pottery?
- 8.6 What should I do if my glaze runs during firing?
- 8.7 Can alternative firing methods affect the durability of my pottery?
- 8.8 How can I improve the control of the atmosphere in my kiln?
- 8.9 What is the role of kiln shelves in the firing process?
- 8.10 How can I rectify glaze defects post-firing?
Key Takeaways
- Firing pottery at home is totally feasible with the right techniques and equipment.
- Understanding different types of kilns will help you make a smart choice based on your needs.
- Safety first! Never underestimate proper safety gear and ventilation during the firing process.
- Common mistakes can be avoided with simple troubleshooting tips to ensure your creations turn out just right.
Understanding the Pottery Firing Process
Let’s kick things off with an overview of what firing pottery really means. If you think of the firing process as the final metamorphosis of your clay masterpiece, you’re on the right track. It’s where the magic happens, turning soft, malleable clay into sturdy, functional pottery. This process involves heating the pottery in a kiln at very high temperatures—think 1,830°F (1,000°C) for bisque firing and even hotter for glaze firing.
For me, understanding the firing temperature was crucial. Each type of clay has a specific firing point to reach optimal hardness and durability. Bisque firing is generally the first round, allowing your piece to become ceramic and ready for glazing. After that, glaze firing comes into play, where you apply a beautiful finish to your item.
“The firing process is essentially the make-or-break moment for your pottery. Nail it, and you’ll be the proud owner of some stunning pieces.”
What is the Pottery Firing Process?
Think of the kiln as the heart of your pottery studio. It’s where everything gets intense! The firing cycle has two primary stages: heat-up, where the temperature gradually rises, and cooling down, where you let your pieces rest. The rise in temperature allows the clay to mature and bond, while the cooling period ensures your pottery doesn’t crack due to stress.
Whether you’re looking at cone firing (using specific temperature cones) or a more modern approach like firing schedules, leveraging the right kiln temperature is key. Every piece of pottery will undergo shrinkage and changes in texture during this process, giving you unique results—you just have to manage the firing cycle properly!
Common Pottery Firing Techniques
Now, let’s explore some exciting firing techniques! Ever heard of raku firing? It’s an incredible method where pottery is removed from the kiln while it’s still glowing hot and placed in combustible materials. The result is some seriously stunning finishes, full of character.
Then you’ve got electric kilns, which are perfect for beginners. These bad boys often come with more precise temperature controls, making them a reliable option—plus they’re generally safer and easier to use. Gas kilns, on the other hand, allow for richer colors and effects due to their atmospheric control.
So, whether you’re feeling adventurous and want to try some alternative firing methods like wood-fired pottery, or you prefer sticking to electric for your home pottery projects, there’s a style out there for you!
Equipment Needed for Firing Your Pottery
Alright, let’s talk gear! Firing pottery at home requires some essential equipment. This isn’t just about throwing pieces into the kiln; it’s about being prepared for the journey ahead.
| Item | Description & Features | Price Range |
|---|---|---|
| Electric Kiln | Easy to use, programmable, ideal for beginners | $500 – $2,000 |
| Kiln Shelves | Durable for holding your pieces during firing | $50 – $300 |
| Kiln Thermometer | Essential for monitoring temperature | $10 – $60 |
| Heat-resistant Gloves | Protects hands during handling | $15 – $50 |
While you can find kilns like the Skutt KM-1027 for around $1,700, or maybe the smaller L&L KWF-232 for about $1,000, it’s essential to select one that fits both your space and budget.
Types of Kilns and Their Uses
When it comes down to it, selecting the right kiln can genuinely influence your pottery crafting experience. Electric kilns are quite popular among hobbyists for their ease of use and efficiency, while more experienced potters might opt for gas or wood-fired kilns for that classic artisan touch.
For newbies, I’d suggest starting out with an electric kiln. Not only are they generally less expensive, but they also offer a more user-friendly experience. If it’s not too out of budget, consider investing in a kiln like the Paragon SC2, which typically runs around $800 and is compact enough for home use.
Essential Tools and Safety Gear
Before you flip the switch on your kiln, make sure you’re equipped with proper safety gear. Believe me; you don’t want to skimp on this—safety first!
- Heat-resistant gloves are a must. You’ll be handling hot pieces, and trust me, you don’t want to burn your fingers.
- Safety glasses should be worn to protect your eyes from any accidental splatters or flying debris.
- A respirator mask can keep you safe from any harmful fumes while working with glazes and firing.
Creating a safe studio environment is just as vital as focusing on your art. So be smart about it!
Step-by-Step Guide to Firing Pottery at Home
Now the fun part—let’s get into the nitty-gritty of firing your pottery! Just like baking a cake, you’ll want to follow a recipe (in this case, steps) to ensure success.
Preparing Your Pottery for Firing
First things first: prepare your pieces. You want to ensure your clay is bone dry before putting it in the kiln. Firing wet clay is a surefire way to disaster—crack city, my friend!
Inspect and clean your pottery pieces, making sure to trim any rough edges. If you’re applying glaze, give those beautiful finishes plenty of time to dry before loading them into the kiln. Make sure your pieces don’t touch each other; they need space to breathe.
Executing the Firing Process
Here’s where the real thrill of pottery firing comes in. You’ll want to learn the ins and outs of kiln loading techniques: positioning your pieces correctly is essential for an even firing.
While executing the firing process, make sure to monitor the kiln closely. I love the Digital Kiln Controller by Duncan, which can run you about $200. It helps to manage the firing schedule effortlessly.
If your kiln has a manual, don’t just toss it aside! Refer to it for specific instructions on firing temperatures and durations.
Safety Tips for Firing Pottery
Safety is paramount while firing pottery. If there’s one takeaway, it’s that you absolutely must prioritize safety measures before you start.
General Safety Measures
Look, pottery can be an inherently messy and hazardous activity, but with the right precautions, you can minimize those risks. Make sure your studio has good ventilation to dissipate any fumes from glazes or the kiln itself. Regularly clean your workspace to avoid clutter—this isn’t just for tidiness; it keeps you focused on your art without distractions.
“A clean workspace is not just smart; it’s essential for clear creativity.”
What to Do in Case of Emergencies
In case something goes awry, knowing emergency protocols is crucial. Always keep a fire extinguisher handy in your studio, just in case things heat up—literally. Familiarize yourself with the first aid kit too, focusing on quickly addressing any burns or injuries. It’s wise to have emergency contacts on hand, just to ease your anxiety.
Troubleshooting Common Firing Issues
Firing pottery isn’t without its challenges. Sometimes, despite our best efforts, things can go sideways. That’s why it’s vital to arm yourself with knowledge on common problems and how to fix ‘em.
Identifying Firing Problems
You might find you’ve underfired a piece if it feels softer than expected, or maybe you’re facing glaze defects if the finish isn’t what you envisioned. Checking the condition of your pottery before you take it out can save you a lot of heartache later on.
Solutions to Common Problems
If you notice cracks forming or you’re dealing with underfired pottery, you might need to consider a re-firing process. With that in mind, don’t be discouraged! We all face hiccups along our potting journeys.
You could also consult forums or reach out to local pottery groups for advice on specific issues you’re encountering. Trust me; you’re never alone in this creative endeavor!
Variations in Firing Methods
As you grow more comfortable with firing techniques, exploring variations in firing methods can become a fantastic way to express your artistic flair!
Overview of Alternative Firing Methods
Pit firing is one of the oldest forms of firing pottery, using natural materials for combustion. Then there’s saggar firing, where you enclose your piece in a container during firing, adding an exciting twist to the outcome! Each method offers unique benefits and aesthetics, so don’t hesitate to experiment.
Impact of Firing Methods on Pottery
Different firing methods can significantly affect your pieces—allowing for everything from subtle color variations to major texture changes. So, it’s always worthwhile to experiment and find which method resonates with your style.
Firing pottery is an art form in itself, giving your pieces character while offering a journey filled with creative exploration—embrace it!
The exhilarating challenge that lies ahead in firing your creations is worth every moment spent in learning and experimentation. You’ll be amazed by the wonderful things you can achieve!
Frequently Asked Questions
What is the difference between bisque firing and glaze firing?
Bisque firing is the initial firing process that transforms raw clay into a hardened state, making it easier to handle for glazing. Glaze firing occurs after applying glaze and involves higher temperatures to melt the glaze and fuse it to the clay surface. Understanding these stages ensures better results in pottery making.
How do I know when my pottery is bone dry?
Bone dry pottery is the stage before firing when the clay appears completely dry and feels cool to the touch. It should not show any dampness or coolness in certain areas. Checking for uniform dryness is crucial to avoid cracking during initial firing.
What are some common signs of poor firing in pottery?
Common signs include uneven glaze application, surface defects like bubbles or crazing, warping, and noticeable shrinkage. If the pottery appears brittle or has an inconsistent color, it may indicate underfiring or overfiring, suggesting a need for adjustments in the firing process.
How can I safely load and unload my kiln?
Always wear safety gear, including heat-resistant gloves and safety glasses, when handling kiln materials. Load the kiln evenly to prevent overheating in certain areas. For unloading, wait for the kiln to cool down completely to avoid burns and handle pots carefully to prevent breakage.
What factors can affect the firing temperature of my pottery?
Several factors influence firing temperature, including the type of clay body, the thickness of your pieces, the moisture content, and the kiln type used. Regularly checking your kiln’s calibration can also help ensure you’re reaching the necessary temperatures for successful firings.
What should I do if my glaze runs during firing?
If your glaze runs, it may be too fluid for your firing temperature or improperly applied. You can try reducing the glaze layer thickness, adjusting your firing schedule, or using a more appropriate glaze. Consider testing glazes on small pieces before large batches.
Can alternative firing methods affect the durability of my pottery?
Yes, alternative firing methods like raku or pit firing can produce unique finishes but may also result in less durable pottery compared to traditional firings. These methods often lead to micro-cracks and less uniform surfaces, so they are typically suited for decorative pieces rather than functional ware.
How can I improve the control of the atmosphere in my kiln?
To enhance atmosphere control, regularly check and maintain your kiln’s seals and ventilation systems. Monitoring the fuel source for gas kilns or ensuring correct settings for electric kilns is essential. Learning about reduction and oxidation firing techniques can also help achieve desired surface effects.
What is the role of kiln shelves in the firing process?
Kiln shelves provide a stable surface to load pottery during firing. They help distribute heat evenly and allow for better airflow around your pieces. Ensuring proper placement of shelves within the kiln is crucial for maximizing the efficiency of the firing process and preventing damage to your pottery.
How can I rectify glaze defects post-firing?
Rectifying glaze defects can involve techniques such as sanding down and re-glazing affected areas, or in some cases, re-firing the piece after rectifying the glaze. Ensure that the surface is properly prepared before applying glaze to avoid future issues.
