
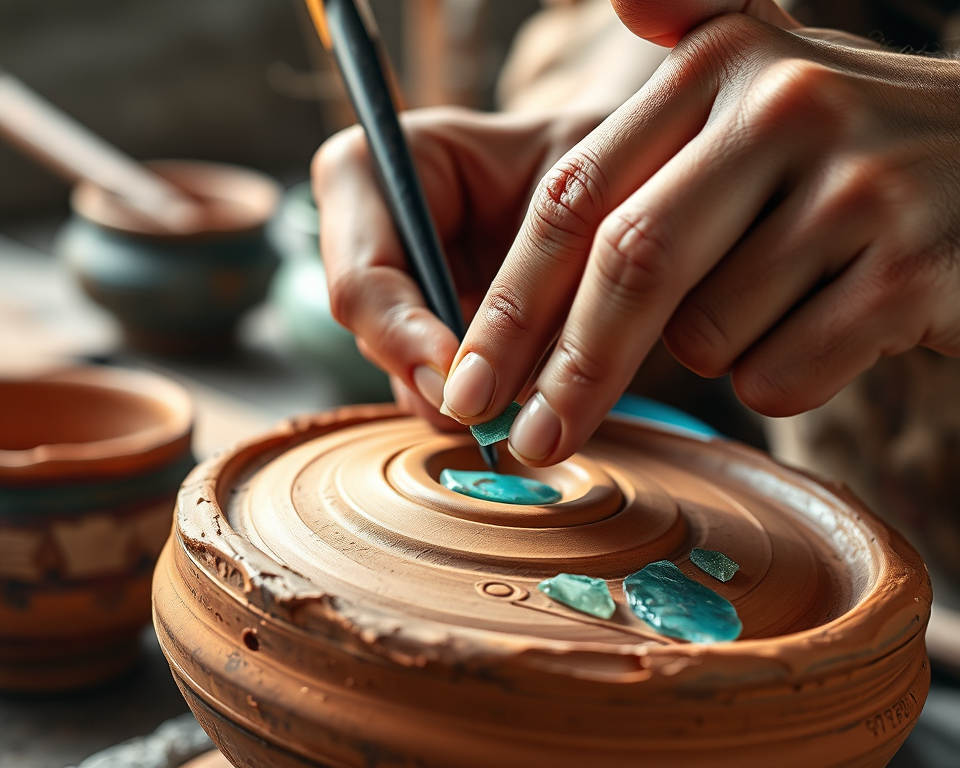
I can’t tell you how many times I’ve looked at a piece of pottery and thought, “Wow, that’s stunning!” The world of pottery inlay is beautifully intricate, giving every creation its own personality and flair. If you’re here, I’m guessing you’re ready to tackle the art of pottery inlay—just like me when I first started out. The sheer joy of creating something unique with my own hands is something I want you to experience too. So, roll up those sleeves, and let’s get started.
Table of Contents
- 1 Key Takeaways
- 2 Understanding Pottery Inlay
- 3 Essential Tools and Materials for Pottery Inlay
- 4 Step-by-Step Guide to Inlaying Pottery
- 5 Common Mistakes and Troubleshooting Tips
- 6 Inspiring Example Projects for Beginners
- 7 Frequently Asked Questions
- 7.1 What types of clay are best for pottery inlay techniques?
- 7.2 How do I choose colors for my inlay designs?
- 7.3 What alternative materials can I use for inlay?
- 7.4 How do I properly prepare a surface for inlay?
- 7.5 Can I use commercial glazes on inlay pottery?
- 7.6 What are some common issues when working with inlay techniques?
- 7.7 How can I enhance the durability of my inlay designs?
- 7.8 Do I need special tools for intricate inlay designs?
- 7.9 What is the best way to fix mistakes in my inlay work?
- 7.10 Are there resources for finding inlay design inspiration?
Key Takeaways
- Pottery inlay adds a unique touch to your creations, enhancing aesthetic appeal.
- Essential tools and materials include carving tools, underglazes, and various types of clay.
- Follow a step-by-step process for best results, starting with prepping your pottery piece.
- Avoid common beginner mistakes by learning effective troubleshooting techniques.
- Get inspired by example projects to kick-start your own creative journey.
Understanding Pottery Inlay
Before we jump into the nitty-gritty, let’s get on the same page about what pottery inlay really is. Simply put, it’s a technique where you embed different materials into your clay to create beautiful, decorative patterns. Think of it as the little details that make your pottery stand out—giving it that “wow” factor!
You might be wondering, why should I bother with this? Well, let’s look at the benefits of adding inlay to your pottery game.
What is Pottery Inlay?
The beauty of pottery inlay is that it’s like painting with clay! Instead of paint on a canvas, you’re using tangible substances—think colored clays or gems—that slide right into the surface of your main piece. There are countless styles and techniques to explore within this art form, and the creative possibilities are virtually endless.
When I first introduced myself to the concept of inlay, I was fascinated by the different processes: from carving out areas in the clay to adding contrasting colored slips, there’s a rich tapestry of techniques waiting for you to try out.
Benefits of Inlaying Pottery
Inlaying pottery isn’t just about making something pretty—it’s about embracing creativity and artistic expression. Here’s why you might want to pick up this skill:
Artistic Benefits: Inlay pottery opens up a world of artistic techniques that allow you to experiment with patterns, colors, and textures. Each piece can tell a story if you allow it.
Aesthetic Appeal: Let’s be honest: who doesn’t want a pottery piece that catches everyone’s eye? Inlay can elevate a simple bowl into a real conversation starter.
Creative Outlet: Fusing colors and designs contributes to a therapeutic process. Crafting allows you to channel your thoughts, relieving stress while you create art.
Now, aren’t you excited to get your hands muddy and learn how to bring your creative ideas to life?
Essential Tools and Materials for Pottery Inlay
Starting any craft means ensuring you have the right tools and materials. Think of it like setting up your kitchen before you tackle a new recipe. You wouldn’t want to be halfway through and realize you’ve forgotten the main ingredient, right?
Must-Have Tools for Beginners
Alright, let’s talk about the tools—these are your best buddies on this journey:
| Tool Name | Description | Price Range |
|---|---|---|
| Carving Tools Set | A variety of tools for shaping and detailing. | $10 – $40 |
| Pottery Wheel | An essential tool for shaping your pieces easily. | $150 – $500 |
| Sponge & Water Bowl | For smoothing and moistening your clay. | $5 – $15 |
| Underglaze Pens | Great for adding fine details in various colors. | $12 – $25 |
| Kiln | Vital for firing your clay creations. | $600 – $2,000 |
Grab these essentials and you’ll be well on your way to creating stunning pottery designs. The investment can vary, depending on your budget, but trust me, every penny spent is worth it when you see your art come to life.
Materials Needed for Inlaying Ceramics
Now that you have your tools, let’s stock up on materials. You’ll need a mix of things for your inlay projects:
Clay Types: Stoneware and earthenware are popular choices. They’re perfect for beginners due to their versatility. A 25-pound bag of clay usually runs around $30 to $40.
Inlay Powders: Look for colorful inlay powders or slips. Amaco Velvet Underglazes are fantastic and come in vibrant colors for around $10 each.
Decorating Supplies: Brushes, rags, and sponges will help you apply and finish your inlay work beautifully. You can find affordable sets at craft stores or online.
Step-by-Step Guide to Inlaying Pottery
This is it—let’s get our hands dirty and start creating! Follow these steps, and I promise you’ll feel that rush of happiness when you see your pottery come together.
Preparing Your Pottery Piece for Inlay
First things first, you need to prepare. That means conditioning your clay before you start. This isn’t just squishing it around. You want a nice, even consistency.
Here’s how to prep your pottery piece:
Wedge Your Clay: Get rid of air bubbles by kneading your clay until it’s smooth. This makes it easier to shape without cracking later on.
Shape Your Piece: Use your pottery wheel or hand-building techniques to shape your piece. Keep it simple for now so you can focus on the inlay.
Drying Time: Allow your piece to dry until it’s leather-hard but not too dry. This is key—you want it firm enough to hold its shape but still soft enough to carve into.
The Inlay Process: Techniques to Master
Now, let’s talk inlay techniques! Here’s where your creativity can pop.
Carve Out Your Design: Use your carving tools to create a shallow trough or patterned area where your inlay will sit. Be careful with your design; clean lines will give a professional finish.
Fill with Inlay Material: Choose your colored slips or powders and carefully fill in the areas you carved. Get creative! I love mixing colors to achieve unique effects.
Smooth It Out: Use a damp sponge to smooth the surface and ensure your inlay material is seamlessly integrated.
Drying Again: Let it dry partially (don’t fully dry it) before adding any glaze, as you want the inlay to merge a bit with the base clay.
Finishing Touches: Glazing and Firing
After your piece has dried, it’s time for the final touches! Here’s what to do:
Glazing: Apply a clear glaze over your piece to seal it and add shine. Choose a food-safe glaze if you intend to use your pottery for functional purposes. A brand like Spectrum or Laguna might suit your needs—most glazes range from $10 to $25.
Firing: Load your piece into the kiln and fire it according to the clay and glaze specifications. This is usually around 1,800°F for stoneware clays, but you’ll want to check the manufacturer guidelines.
Cooling Down: Allow the kiln to cool down before you get to peek at your work. That anticipation is part of the fun!
Common Mistakes and Troubleshooting Tips
As thrilling as pottery inlay is, it can also lead to a few “oops” moments—trust me, I’ve been there! Being armed with knowledge on common mistakes does wonders for building your confidence.
Identifying and Fixing Common Inlay Mistakes
Here are a few missteps I’ve seen (and made) over the years:
Air Bubbles in the Inlay: This can lead to cracks during firing! Always wedge your materials well.
Uneven Texture: If your inlay isn’t smooth, it affects the overall finish. Don’t forget to take your time while applying and smoothing out those materials.
Firing Errors: Over-firing might change color or break your pottery. Stick to recommended temperatures, and don’t rush this step!
Troubleshooting Techniques for Pottery Enthusiasts
Here are some troubleshooting techniques I swear by:
Repairing Cracks: If you catch a crack before firing, you can fix it by using slip (wet clay) to fill the gap.
Fixing Glaze Issues: If your glaze is too thick, it can run. Keep it thin and apply several layers if needed.
Sticking Clays: If it’s hard to shape, spritz with a little water to keep things workable but avoid over-saturating.
Inspiring Example Projects for Beginners
Seriously, I can’t stress enough how important it is to get inspired by projects around you. There’s nothing quite like seeing what others have done to spark your creativity!
Easy Inlay Projects to Get You Started
Start with a basic piece—like a colorful decorative tile! It’s straightforward, but trust me, you’ll feel accomplished. Here’s how a beginner might tackle this:
Shape the Tile: Roll out a flat piece of clay and cut it to your preferred size.
Create Simple Patterns: Try intersecting lines or dots as your inlay design, filling them with contrasting colors.
Finishing: Once dried, glaze as instructed above and fire!
Creative Inlay Patterns and Ideas
Feeling more adventurous? Experiment! Try themes like nature-inspired motifs with leaf shapes or geometric patterns.
One of my favorite projects was creating a bowl adorned with a wavy line design where I embedded different colored slips. Each color represented a memory, making it not just a bowl but a storytelling piece.
“Every piece I create tells a story—an expression of who I am.”
That’s the heart of pottery!
Now get excited, because you’re about to embark on a vibrant journey filled with creativity, artistry, and a dash of discovery. Happy inlaying!
Frequently Asked Questions
What types of clay are best for pottery inlay techniques?
For pottery inlay, stoneware and porcelain clays are often recommended due to their durability and smooth textures. Earthenware can also be used but may require extra care as it is more porous. Experimenting with different clay types can yield unique results in your inlay projects.
How do I choose colors for my inlay designs?
Selecting colors for inlay designs often depends on your artistic vision and the overall theme of your piece. Complementary and contrasting colors can create striking effects. Consider testing your color choices on small clay samples before applying them to your main project to visualize the outcome.
What alternative materials can I use for inlay?
In addition to traditional inlay powders, you might explore using natural materials like crushed stones, wood shavings, or glass for unique textures and effects. These alternatives can add depth and visual interest to your pottery, allowing for creative experimentation.
How do I properly prepare a surface for inlay?
To prepare a surface for inlaying, ensure it is clean, dry, and smooth. You may also want to lightly score the surface to create a better bond for the inlay materials. Additionally, consider applying a thin layer of slip (liquid clay) to help the inlay material adhere during the process.
Can I use commercial glazes on inlay pottery?
Yes, commercial glazes can be applied to inlay pottery, but it’s essential to test compatibility first. Some glazes may react adversely with certain inlay materials, altering both color and texture. Always conduct tests with small samples to identify any potential reactions before glazing your main piece.
What are some common issues when working with inlay techniques?
Common issues include uneven application, cracking, or delamination of inlay materials. To avoid these problems, ensure your inlay material is appropriately mixed and applied evenly. Monitoring moisture levels throughout the process can also reduce the risk of cracking during drying and firing stages.
How can I enhance the durability of my inlay designs?
To improve durability, make sure to use high-quality clay and inlay materials that are specifically designed for pottery. Additionally, properly firing your ceramics to the recommended temperature will help strengthen and seal inlay designs, ensuring they withstand everyday use.
Do I need special tools for intricate inlay designs?
While basic pottery tools can suffice, having specialty tools can help achieve more intricate inlay designs. Tools such as fine detailing brushes, carving tools, and silicone molds can assist in executing detailed work, leading to refined patterns and textures in your projects.
What is the best way to fix mistakes in my inlay work?
To fix inlay mistakes, you can scrape away the flawed area and refill it with fresh inlay material. For minor errors, a gentle sanding of the surface might be sufficient. Always ensure that the repairs are adequately smoothed and dried before proceeding to glaze and fire the piece.
Are there resources for finding inlay design inspiration?
Yes, various resources are available for inspiration, including pottery books, online tutorials, social media platforms like Instagram and Pinterest, and pottery workshops. Joining pottery communities can also provide access to learning opportunities and guidance from experienced potters.
