
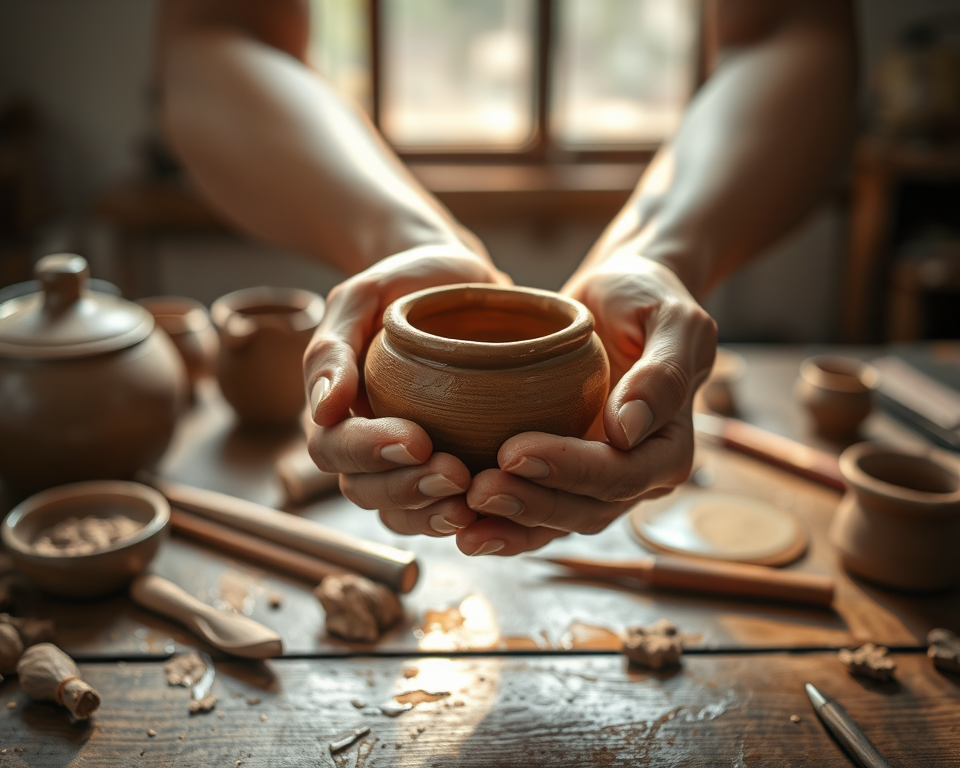
When I first got my hands on some clay, I had no idea how each squishy lump could evolve into something beautiful. The moment I shaped my first pinch pot, I felt like a kid again, exploring the limitless world of creativity—gotta love that feeling! And if you’re here, it means you’re probably ready to jump into the world of pottery too, right? You’re in the right place! Pottery isn’t just about making dishes; it’s about molding your thoughts and energies into something tangible. Let’s explore how to navigate your way through this fantastic journey of turning clay into art.
Table of Contents
- 1 Key Takeaways
- 2 Step-by-Step Techniques for Beginner Potters
- 3 Essential Tools Every Potter Should Have
- 4 Common Pottery Mistakes and How to Fix Them
- 5 Frequently Asked Questions
- 5.1 What are the differences between earthenware, stoneware, and porcelain clay?
- 5.2 How do I choose the right glaze for my pottery?
- 5.3 What should I do if my pottery cracks during drying?
- 5.4 How can I improve my pottery wheel throwing technique?
- 5.5 What are some common kiln loading mistakes to avoid?
- 5.6 How do I care for my ceramic tools to ensure they last?
- 5.7 What is the best way to start glazing my pottery?
- 5.8 Are there any specific safety precautions I should take while working with pottery?
- 5.9 How can I repurpose failed pottery projects?
- 5.10 What are some ways to display my finished pottery?
Key Takeaways
- Essential Tools: Invest in a few key potter’s tools like the Mudtools Starter Kit ($24.95) or the Sculpey Oven-Bake Polymer Clay ($13.89) to kick off your pottery adventure.
- Basic Techniques: Start with simple methods like pinch pots, coils, or slabs that are friendly for beginners.
- Common Mistakes: Don’t stress if things go sideways—most mistakes can be corrected with a little know-how.
- Workspace Matters: Setting up a dedicated, organized space can make or break your pottery experience. Get inspired to craft in a welcoming environment.
- Community Resources: Engage with local pottery groups for support, classes, and sharing your new creations.
Step-by-Step Techniques for Beginner Potters
Understanding Different Pottery Techniques
When you take your initial plunge into pottery, it’s essential to get familiar with various techniques. The terms may sound fancy, but trust me—they’re just different ways to manipulate that delicious clay.
- Pinch Pots: Seriously, if you’re just starting, this is like the “hello” of pottery. You take a ball of clay, pinch it to make a bowl—fancy, huh? This method is super approachable and lets your creativity run wild!
- Coil Method: Grab some clay and roll it into long, snake-like coils. Then stack those babies to make all kinds of shapes—from flower pots to decorative vases.
- Slab Building: Roll out your clay into flat sheets and cut it into shapes that you can piece together. Think of it like building with blocks—easy to mold, yet endlessly creative.
“The magic happens when your heart and hands work together; clay becomes your canvas!”
Experiment with these techniques until you find your groove. Don’t hesitate to combine them! For instance, you can create a slab base and add pinch pot details—who said you can’t mix styles?
Essential Clay Types for Beginners
Okay, let’s chat about clay. Not all clay is created equal, and understanding the differences will steer you clear of potential disaster.
- Earthenware Clay: This is the go-to for beginners. It fires at a low temperature and is super forgiving. Brands like Laguna Clay’s Earthenware ($20 for 25 pounds) are a solid start—it’s versatile, lightweight, and affordable.
- Stoneware Clay: A bit more advanced; it’s durable and works great for functional pottery. Check out Amaco’s Stoneware Clay ($25 for 25 pounds). It yields beautiful results, but you may want to wait until you have some experience.
- Porcelain Clay: This one’s a little fancier and is known for its strength and translucence. I’d suggest not starting with this until you feel confident in your skills.
A quick heads-up: always consider the projects you have in mind before choosing your clay. If you aim for decorative pieces, earthenware is your best bet. Functional pottery? Swing for stoneware.
Pottery Wheel Basics for Newbies
Using a pottery wheel? It sounds daunting, but it can be an absolute blast. Think of it like learning to ride a bike—there can be a few tumbles but total freedom once you get it right!
- Setting Up: Grab a pottery wheel like the Brent Model C ($1,500) if you’re serious about this journey. It’s reliable and perfect for beginners.
- Centering Clay: This moment feels magical. You’ll place a lump of clay in the center and push down while spinning. Keep your hands steady, and you’ll have a centered piece ready to shape.
- Wheel Throwing: With practice, you can pull up the walls to create bowls and vases.
“Embrace the wobbles; they teach you more than perfection ever could!”
Make sure to have some sponge and water handy while you’re at the wheel—you’ll need it to keep things smooth.
Essential Tools Every Potter Should Have
Feeling ready to access the Potter’s Toolbox? Trust me, the right tools can make a world of difference. You only need a few essentials:
Must-Have Tools for Hand-Building and Wheel Throwing
Here’s a list of tools you’ll want to snag before getting all artsy:
- Pottery Knife: A standard tool to slice up clay or trim pieces. The X-ACTO Knife Set ($15) is versatile and effective.
- Wire Tool: For cutting clay from your wheel. Simple yet essential—plus, you can grab one for about $10.
- Wooden Ribs: For smoothing and shaping your pieces. A set like the Mudtools Ribs ($19.95) will be your best friend.
Choosing the Right Work Surface and Space
Now that we’ve armed you with tools, let’s talk about the glorious workspace. If I’ve learned anything in my pottery adventures, it’s that a cluttered area can unleash sheer chaos.
- Set up a dedicated potting table where you can comfortably work. A butcher block table ($250) is a perfect foundation—sturdy and easy to clean.
- Move into lighting; a bright area allows you to see clay texture better.
- Dust-free? YES, please! A clean space enhances creativity and helps stop clay from getting spoiled.
Make your space welcoming—add some inspiring art or plants, and before you know it, you’ll want to pot away!
Maintaining and Caring for Your Pottery Tools
To keep your clay tools as excited as you are, give them a little love:
- Cleaning: After each session, wipe tools down with a damp cloth. A dirty tool can stain fresh clay!
- Storage: Keep everything organized in a toolbox, like the Stanley Portable Tool Box ($25). It’ll help you find your essentials quickly.
- Longevity: Check for damage before each session; a chipped rib can ruin your creations!
Take care of your tools, and they will reward you!
Common Pottery Mistakes and How to Fix Them
Mistakes are part of the adventure—trust me, I’ve made my share! But knowing how to fix common issues will save you from feeling frustrated.
Righting Common Clay Forming Errors
We’ve all been there—so don’t fret! Here’s a list of common pitfalls to watch for:
| Mistake | Solution |
|---|---|
| Uneven Bases | Check for a flat surface while centering. Use a ruler to measure thickness. |
| Cracking during drying | Allow thicker pieces to dry slowly; cover with plastic to keep moisture in. |
| Air bubbles | Knead your clay thoroughly to incorporate air out before shaping. |
Each error is a stepping stone—don’t let them overwhelm you!
Fixing Kiln and Firing Issues
Got your kiln? Sweet! Now, let’s keep it error-free:
- Loading Properly: Be cautious about spacing items; overcrowding can lead to mishaps.
- Temperature Control: Always double-check firing temperatures. The Skutt KM-1020 is great for beginners but can mess you up if not monitored. It retails around $1,200; it’s worth it in the long haul!
- Glaze Application: Uneven glaze can result in a messy finish. Take your time and practice thin, even coats.
Avoiding Glazing Pitfalls
Glazing brings your pottery to life, but it can also be tricky:
- Always preheat your glazes. Cold glazes can result in uneven application. A quick preheat in the microwave for a few seconds usually does the trick.
- Never forget to test your glaze on a small piece before applying it to your main project. The Amaco Glaze Testing Kit ($110 for a range of colors) is great.
“Glazing is about layering both techniques and colors—experiment and have fun!”
You’re going to face some hiccups, but that’s all part of becoming a skilled potter. With each failure, the leap to success becomes clearer!
Through these steps, you have the tools, techniques, and insights needed to slingshot yourself into the pottery world with gusto! So, roll up your sleeves, get that clay ready, and enjoy the wild journey of creating!
Frequently Asked Questions
What are the differences between earthenware, stoneware, and porcelain clay?
Earthenware is porous and typically lower-fired, great for beginner projects. Stoneware is more durable and denser, suitable for functional ware. Porcelain is high-fired and known for its strength and translucency but can be challenging for beginners due to its specific handling needs.
How do I choose the right glaze for my pottery?
Choosing the right glaze involves understanding its compatibility with your clay body. Always test glazes on sample pieces first to ensure desired results. Consider factors like firing temperature, intended use, and finish (glossy or matte) before making your selection.
What should I do if my pottery cracks during drying?
Cracking can occur from drying too quickly or unevenly. To prevent this, cover your pieces with plastic while they dry and check for even moisture levels. If cracks form, you can try to repair them with slip or patch the area before firing.
How can I improve my pottery wheel throwing technique?
Improving wheel throwing requires practice and focus on centering. Make sure to wedge your clay properly and maintain consistent pressure while throwing. Consider taking a beginner class or watching online tutorials for tips on posture, hand placement, and rhythm.
What are some common kiln loading mistakes to avoid?
Common mistakes include overcrowding the kiln, stacking pieces too closely, or not allowing for proper airflow. Always load pieces according to size and shape, leaving sufficient space for heat circulation, which ensures even firing and reduces the risk of breakage.
How do I care for my ceramic tools to ensure they last?
Keeping your tools clean and free of clay residue is crucial. After use, remove dried clay and store tools in a dry place. Regularly inspect for wear and tear, and consider organizing them in a designated space to prevent damage and loss.
What is the best way to start glazing my pottery?
Start with a simple glazing technique, such as dipping or pouring, to get a feel for the process. Experiment with different applications on test tiles to see how colors and textures interact. Always follow the manufacturer’s instructions for glaze application and firing.
Are there any specific safety precautions I should take while working with pottery?
Yes, always work in a well-ventilated area, especially when mixing glaze. Wear a mask when handling dry clay and glazes to avoid inhaling dust. Additionally, use gloves when necessary to protect your skin from irritation, and keep your workspace clean to minimize hazards.
How can I repurpose failed pottery projects?
Failed pottery can be reclaimed and reused. Let the clay dry completely, then crush it into powder and rehydrate with water to create new workable clay. You can also use failed pieces for decorative purposes or as plant drainage in gardening projects.
What are some ways to display my finished pottery?
Displaying pottery can enhance its aesthetic appeal. Use shelving, hanging displays, or specially designed cabinets to showcase your pieces. Consider backlighting for translucent items and group similar styles or colors together for a cohesive look.
